Mini Easter Bonnet Pin
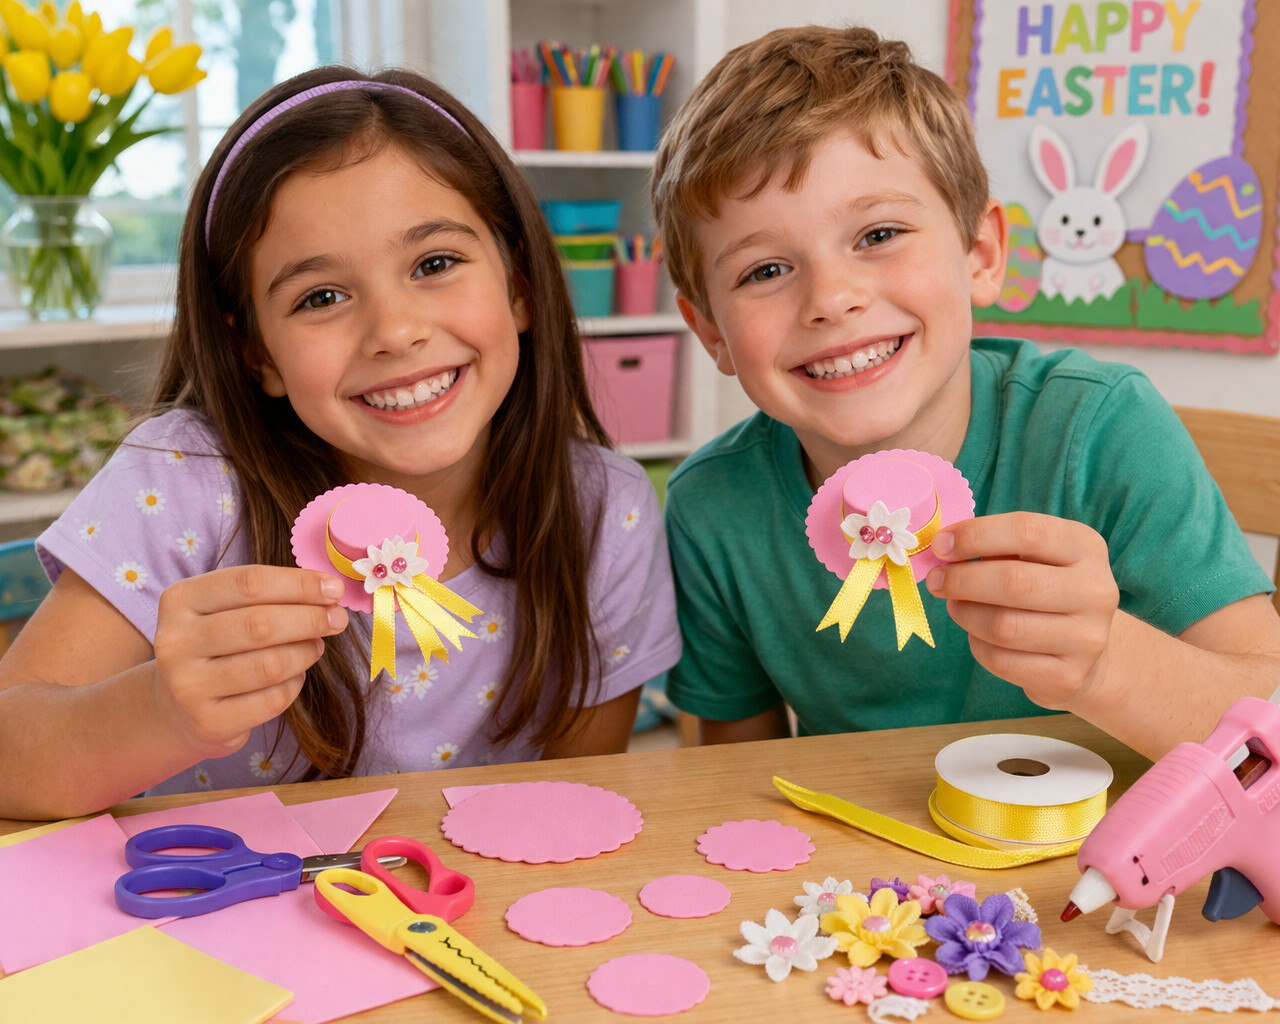
This Mini Easter Bonnet Pin is a sweet little Easter craft that makes a thoughtful handmade gift for moms, grandmothers, teachers, or scout friends. With a few simple supplies, kids can create a tiny decorated bonnet pin that looks festive and special for Easter or even Mother’s Day. It is a fun choice for classroom activities, scout swaps, and easy crafts for kids.
Supplies
- Craft foam
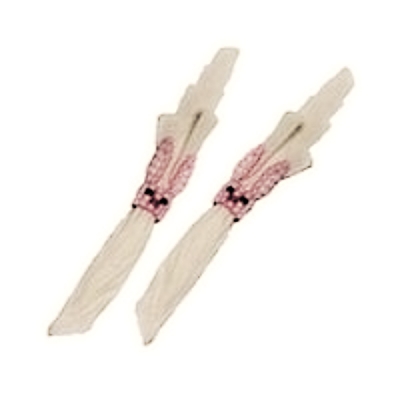
- Jewelry craft pin
- 1/4-inch ribbon
- Scissors
- Decorative edge scissors
- Low temp glue gun
- Small silk flowers
- Buttons
- Lace
- Other small trims or embellishments
Instructions
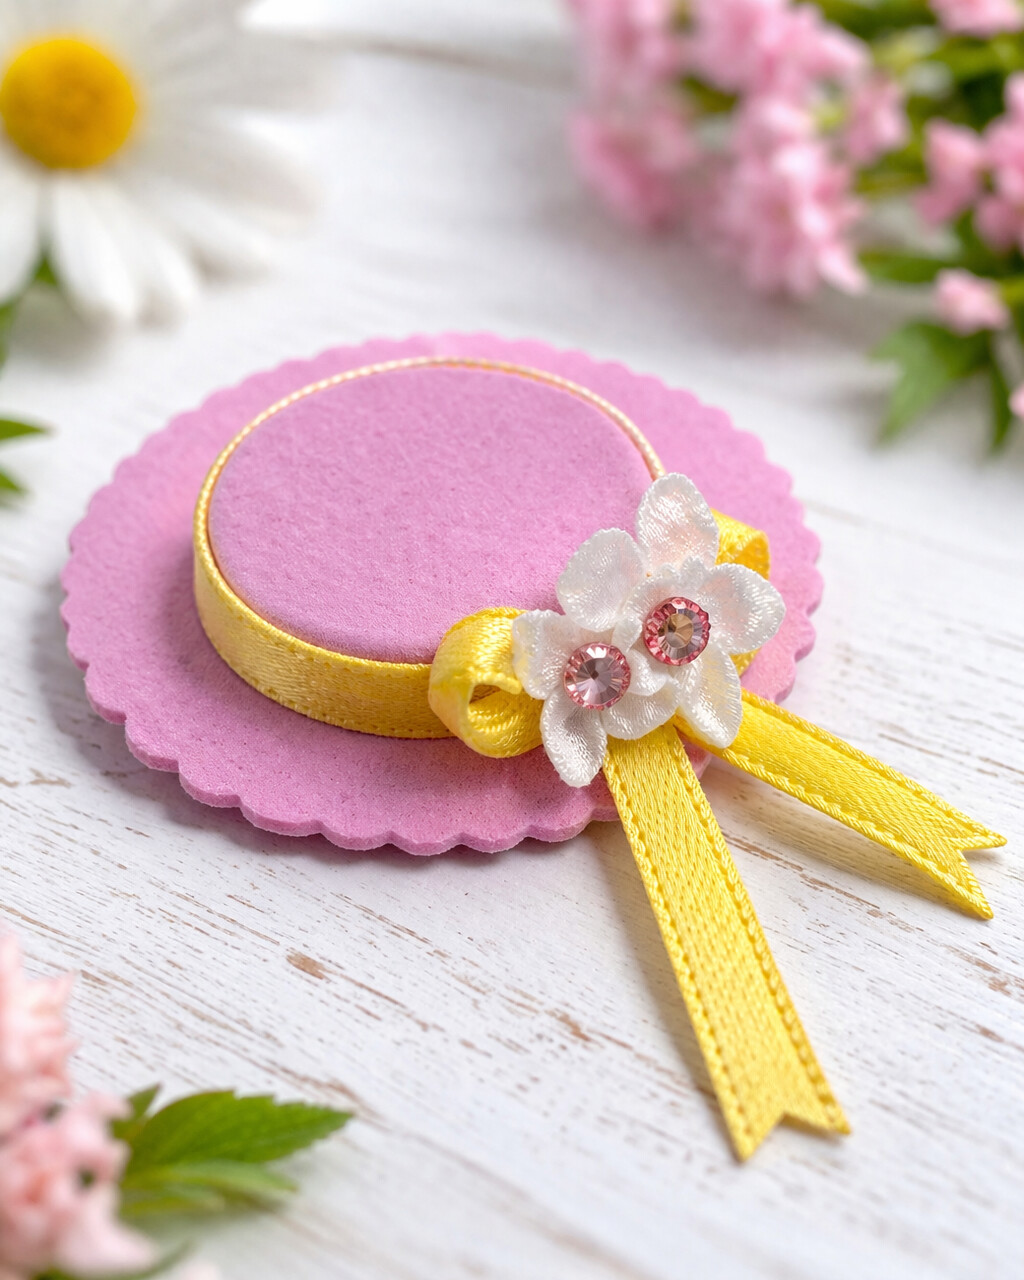
- Cut a 2-inch circle from craft foam using decorative edge scissors to create the brim of the bonnet.
- Cut two or three 1-inch circles from craft foam. Stack and glue them on top of each other to create the raised crown of the hat.
- Glue the stacked circles in the center of the larger circle.
- Wrap a piece of ribbon around the crown and glue it in place.
- Tie a small bow from the ribbon, leaving the ends long enough to look like streamers. Glue the bow onto the bonnet.
- Decorate the mini bonnet with small silk flowers, buttons, lace, or other trims.
- Turn the bonnet over and carefully glue the jewelry pin to the back.
- Let everything cool and dry completely before wearing or gifting.
Tips
Use pastel craft foam and ribbon for a classic Easter look.
You can make each bonnet different by changing the colors and decorations.
Adult help is recommended when using a low temp glue gun.
Fun Ways to Use This Craft
These little bonnet pins are perfect for:
- Easter basket surprises
- Mother’s Day handmade gifts
- Scout swaps
- Classroom craft days
- Dress-up accessories for spring events
Patterns, Templates and Printables
This craft does not require printable templates. The bonnet is made by cutting simple foam circles and decorating them with ribbon, flowers, and trims you already have on hand.
Teacher Friendly Educational Extension
This craft can be turned into a fun classroom activity by inviting children to design a bonnet for a specific person, such as a parent, grandparent, or teacher. Have them write a short note or card to go with the pin explaining why they made it. This adds a simple writing component and helps children connect art with kindness and gift-giving.
You can also use the craft as part of a spring or Easter lesson about traditions, clothing accessories, or handmade gifts from the past.
Supplies
Craft Foam
Jewelry Craft Pin
1/4" Ribbon
Scissors
Decorative Edge Scissors
Low Temp Glue Gun
Small Silk Flowers, Buttons, Lace etc
Instructions
Cut a 2" circle out of craft foam with a decorative edge scisssor.
Cut two or three 1" circles out of craft foam. Glue them on top of each other for height. Glue to the middle of the 2" circle.
Glue a piece of ribbon around the crown of the hat.
Tie a bow from the ribbon leaving two ends to extend as streamers.
Decorate with flowers and other trim to complete your hat.
Glue pin on the back to fasten to the collar of someone special or to use as a swap.
Contributor

These projects are created by Terri, Betty, Jamie or one of the talented staff members at MakingFriends.com. They have been created exclusively for publication on FreeKidsCrafts.com with supplies you'll be able to find around your house.