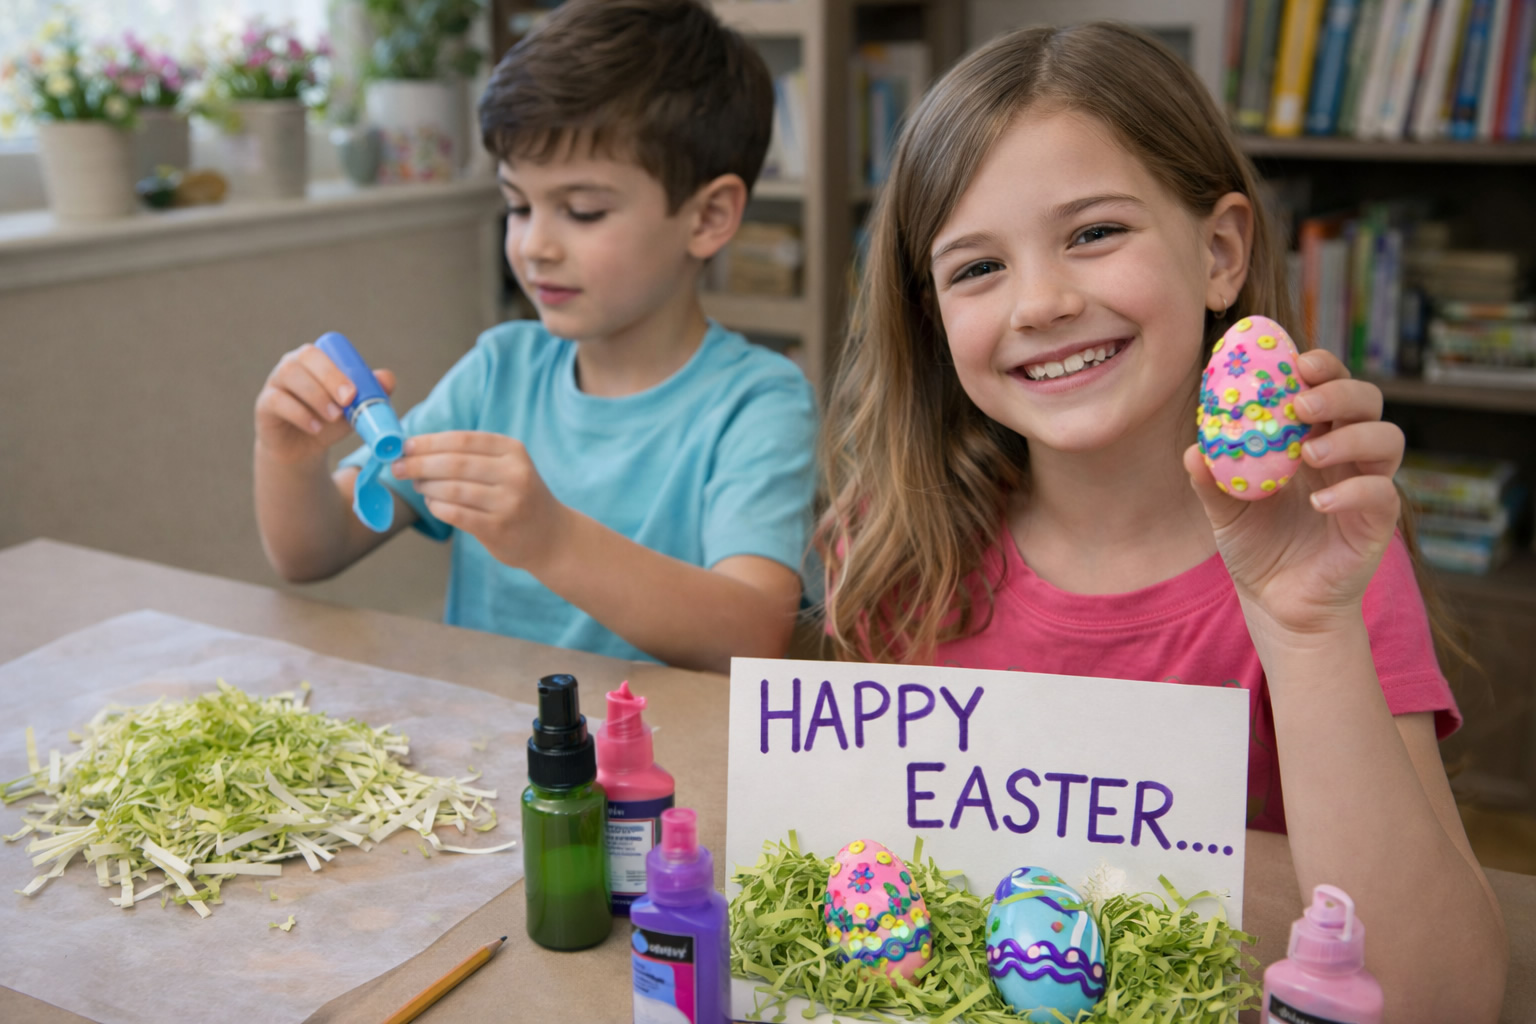
Recycled Spoon Easter Card
Turn simple plastic spoons into a colorful handmade Easter card with this creative upcycled craft. This project is best for older kids, teens, or adults because it uses heat to shape the plastic. The finished card makes a fun Easter keepsake and a clever way to reuse everyday materials.
Supplies
- Blank 5 x 7-inch card
- Shredded paper
- Green fabric spray paint
- White or pastel plastic spoons
- Dimensional paint in assorted colors
- Tacky glue
- Alphabet stencil with 1-inch letters
- Pencil
- Waxed paper
- Small candle and matches
- Scissors, if needed for trimming
- Adult supervision and a well-ventilated workspace
Instructions
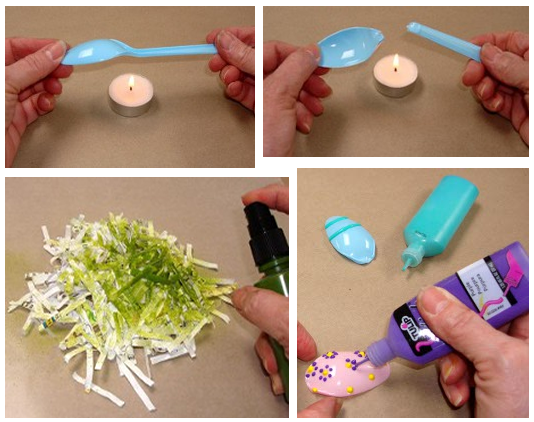
- Lay the shredded paper on top of waxed paper and lightly spray it with green fabric spray paint.
- Turn the shredded paper over and spray the other side. Spread it out and let it dry completely.
- Glue the dried shredded paper along the bottom edge of the card to create a grass effect. Set the card aside until the glue is dry.
- Working in a well-ventilated area, carefully heat a plastic spoon over a small candle. Hold the spoon above the flame, not directly in it, and warm the area where the handle meets the bowl.
- As the plastic softens, gently separate the handle from the spoon bowl. The spoon bowl will become your Easter egg shape.
- If needed, briefly warm the plastic again and carefully trim the edges while it is still soft. Use caution, since the plastic can become hot very quickly.
- Decorate the outside of each spoon bowl with dimensional paint. Add dots, swirls, zigzags, flowers, or other Easter egg designs. Let the paint dry completely before continuing.
- Use an alphabet stencil and pencil to lightly trace a holiday message onto the card.
- Go over the traced letters with dimensional paint and let the words dry.
- Once the decorated spoon eggs are dry, glue them into the shredded paper grass on the card.
- Allow the finished card to dry fully before displaying or giving it to someone special.
Safety Tips
Because this craft uses a candle and heated plastic, it should only be made by responsible teens or with close adult help. Always work in a well-ventilated area and keep fingers away from softened plastic until it has cooled enough to handle safely.
Fun Ways to Customize
You can make each egg a different color and pattern for a bright Easter look. Try writing messages like Happy Easter, Spring Wishes, or Hoppy Easter on the front. You can also add ribbon, gems, or extra paper flowers to make the card even more festive.
Patterns, Templates and Printables
This project does not require a printable template, but you can use an alphabet stencil to add a neat holiday message to the front of the card.
Teacher Friendly Educational Extension
This project works well for classroom activities with older students when discussing recycling and creative reuse. Students can talk about how common household items can be turned into art. Teachers can also use this craft as a spring writing prompt by having students create a card and write a short note or poem to go inside.
Supplies
Blank card 5" x 7"
Shredded paper (I used paper from my paper shredder)
Tulip Fabric Spray Paint - green
Plastic spoons - assorted colors
Tulip Dimensional Paints - assorted colors
Glue (I used Aleene's Tacky Glue)
Alphabet stencil (1" tall letters)
Pencil
Waxed paper
Small candle and matches
Instructions
Place the shredded paper onto waxed paper and spritz with the spray paint.
Turn over and spritz again. Spread out and let dry.
Glue the dried painted shredded paper along the bottom edge of the card. Let glue dry.
In a well-ventilated area, carefully hold the plastic spoon over the candle flame (but not in the flame). The flame should be under the area where the handle meets the bowl of the spoon.
Within a few seconds the heat of the candle will soften the plastic. Pull the handle apart from the bowl of the spoon.
If you need to trim the edges of the bowl or the stem, return to the heat of the flame for a few seconds to soften plastic. Then cut or trim while the plastic is still soft. Be careful! If you leave the plastic in the heat too long the plastic will be hot.
Shake the dimensional paint down to the tip before using and always test before applying to project. Carefully squeeze the paint into different patterns and shapes onto the outside of the spoon bowl. Let paint dry completely.
Lightly trace the letters with pencil onto the card, using the alphabet stencil.
Cover the pencil tracing with the dimensional paint.
Glue the dried Easter eggs onto the card into the shredded paper.
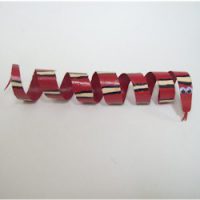
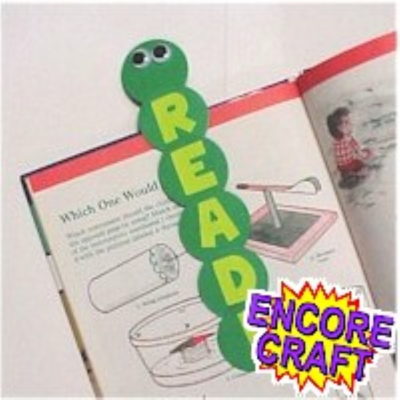
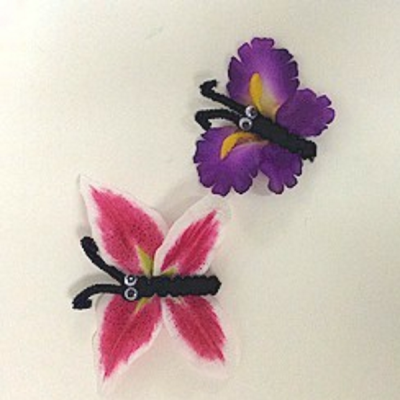
Other Images
Click on an image to open it in a new window


Contributor
Heidi Borchers hails from the first family of crafting. As daughter of Aleene Jackson, inventor of Aleene’s Tacky Glue, Heidi's creative design projects have delighted worldwide crafters for over 30 years. Heidi’s specialty is eco-crafting and she is the author of hundreds of craft books. She is co-host of Inspired at Home Radio, a live weekly talk-radio show featuring ideas for living a creative life. www.inspiredathome.com