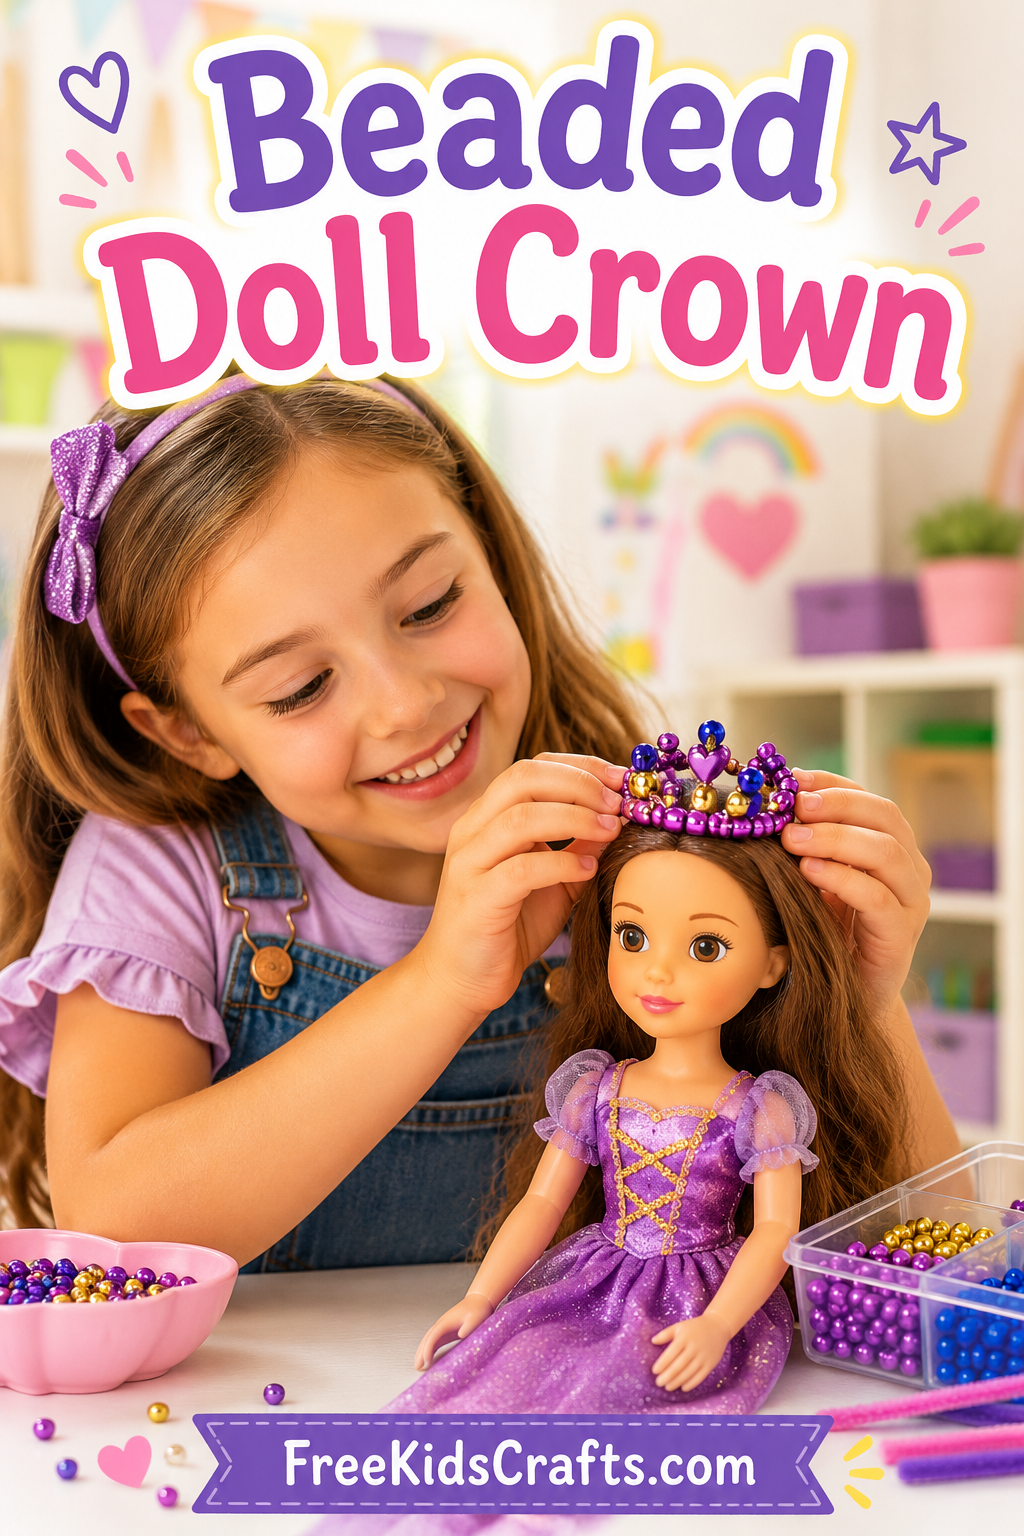
Beaded Doll Crown
This darling Beaded Doll Crown is a sweet craft for kids who love dressing up their dolls. With pony beads, cord, and a gold pipe cleaner, children can create a tiny royal crown that is perfect for pretend play. Younger crafters may need adult help with the bead weaving, while older kids and teens can make this special accessory for a favorite doll or as a gift for a younger child.
Supplies
- 27 Purple Pony Beads
- 6 Gold Pony Beads
- 3 Blue Pony Beads
- 1 Heart Pony Bead
- 1 Yard of Cord
- 1 Gold Pipe Cleaner
- Craft Glue
- Scissors
- Printable Beading Diagram
Instructions
- Stiffen the ends of the cord with craft glue. Let dry completely. This will make it easier to thread the beads.
- String one blue pony bead to the middle of the cord.
- String both cord ends down through the heart pony bead and pull gently so the heart sits under the blue bead.
- Add gold beads 2 and 3 to the left-hand cord.
- Thread the right-hand cord back through gold beads 2 and 3 in the opposite direction. Pull snug.
- Add purple beads 4, 5, and 6 to the left-hand cord.
- Thread the right-hand cord back through purple beads 4, 5, and 6 in the opposite direction. Pull snug.
- Using the printable beading diagram as your guide, string beads 7 through 12 on the right-hand cord to create one side point of the crown. Wrap around bead 12, then thread back through beads 10 and 11. Wrap around again, then thread back through beads 7 and 8. Pull snug, easing out any extra slack in the cord.
- Bead 7 should sit neatly against bead 6.
- Repeat the same steps on the left-hand cord to create the matching side point of the crown.
- String 9 beads on each cord to form the bottom band of the crown.
- Push the gold pipe cleaner through the bottom row of beads until it is centered. Twist the pipe cleaner ends together to form the crown shape, then trim any extra.
- Tie the cords together with a double knot. Add a small dab of craft glue to secure the knot. Let dry, then trim the cord ends.
Craft Tips
Use the printable beading diagram to help kids follow the pattern one section at a time.
Try changing the bead colors to match a favorite doll outfit.
Make several crowns in different colors for a pretend royal party or doll dress-up activity.
Patterns, Templates and Printables
Click on the printable beading diagram to open it in a new window and use it as a guide while making your Beaded Doll Crown.

Teacher Friendly Educational Extension
Turn this easy bead craft into a fun classroom activity by connecting it to fairy tales, storytelling, and pattern recognition. After making the crown, children can write a short story about the doll who wears it. Younger students can practice identifying colors and repeating bead patterns, while older children can design their own crown pattern on graph paper before they begin beading.
This activity also works well for fine motor practice, patience, and following step-by-step directions.
Supplies
27 Purple Pony Beads6 Gold Pony Beads
3 Blue Pony Beads
1 Heart Pony Bead
1 Yard of Cord
1 Gold Pipe Cleaner
Craft Glue
Scissors
Instructions
Click on Printables for a beading diagram to help you with this project.
Stiffen ends of cord with white glue. Let dry.
String a blue pony bead to the middle of your cord.
String both ends down through a heart pony bead.
Slide gold beads 2 and 3 on the left hand cord.
String the right hand cord through beads 2 and 3 in the opposite direction. Pull snug.
String purple beads 4,5 and 6 on the left hand cord.
String the right hand cord through beads 4,5 and 6 in the opposite direction. Pull snug.
String beads 7-12 on the right hand cord. Wrap around bead 12 then string back through beads 10 then 11. Wrap around then string through beads 7, 8 and name. Pull snug easing out any slack in the cord.
Bead 7 should sit against bead 6. Repeat with the the left hand cord and another set of beads.
String 9 beads on each cord.
Push a gold pipe cleaner through the bottom row of beads to the middle of the pipe cleaner. Twist ends together. Trim.
Tie cords with a double knot. Add a dab of white glue. Let dry trim.
Patterns, Templates and Printables
Click on a pattern to open it in a new window
Contributor

These projects are created by Terri, Betty, Jamie or one of the talented staff members at MakingFriends.com. They have been created exclusively for publication on FreeKidsCrafts.com with supplies you'll be able to find around your house.