Bulletin Board Flower Faces
Turn your classroom wall or bedroom display into a cheerful garden with these Bulletin Board Flower Faces. This easy printable craft lets kids color a large flower and add their own face in the center. They can draw a self-portrait, make a silly expression, or create an imaginary flower friend. It is a fun spring craft for classrooms, homeschool groups, and bulletin board displays.
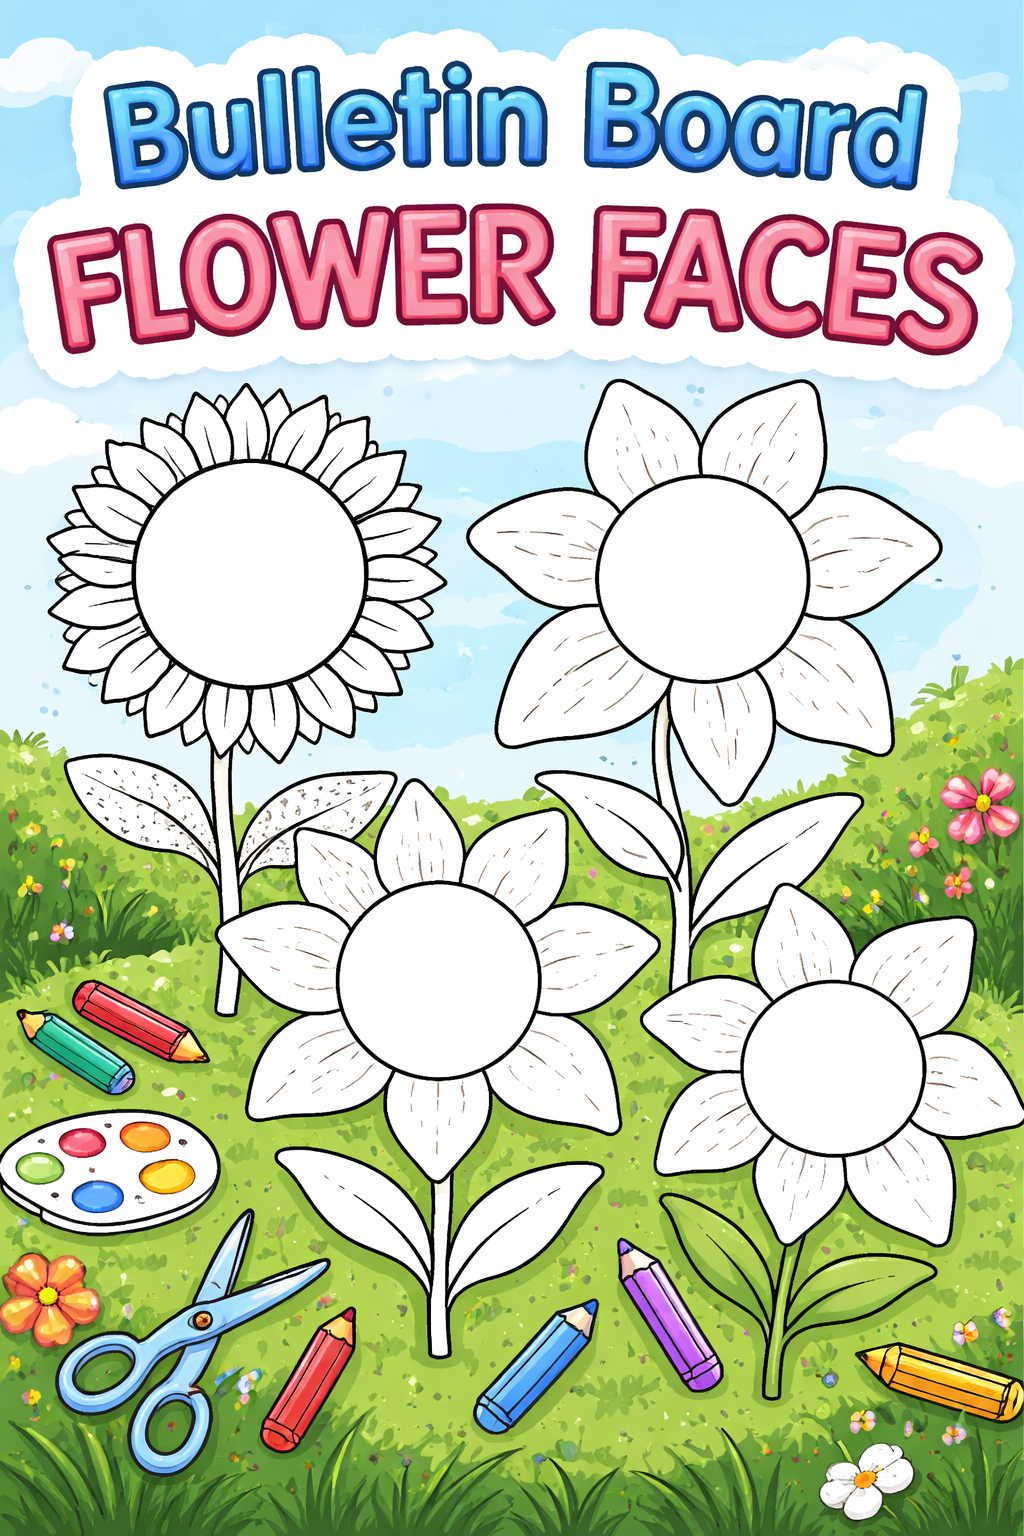
Because the flower templates are black and white, children can personalize each one with crayons, markers, colored pencils, or paint. This makes a great classroom activity for spring, Mother’s Day, garden themes, or getting-to-know-you displays.
Supplies
- White paper or cardstock
- Printable flower templates
- Scissors
- Crayons, markers, or colored pencils
- Pencil
- Optional: paint, glue, scrapbook paper, stickers, or other collage materials
Instructions
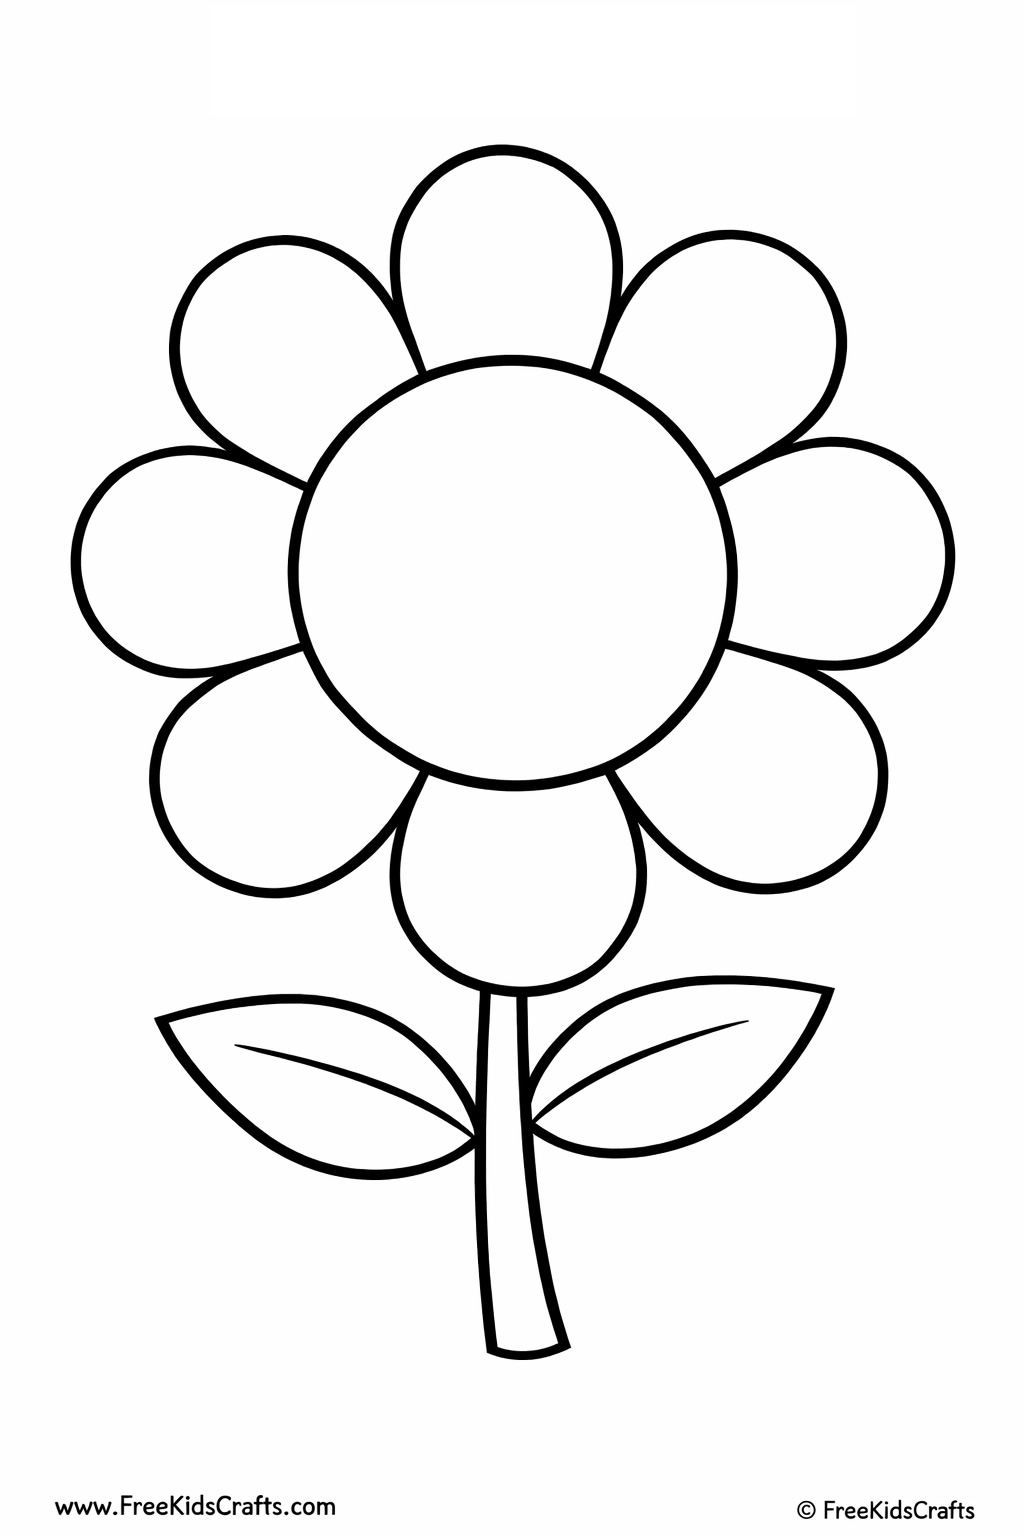
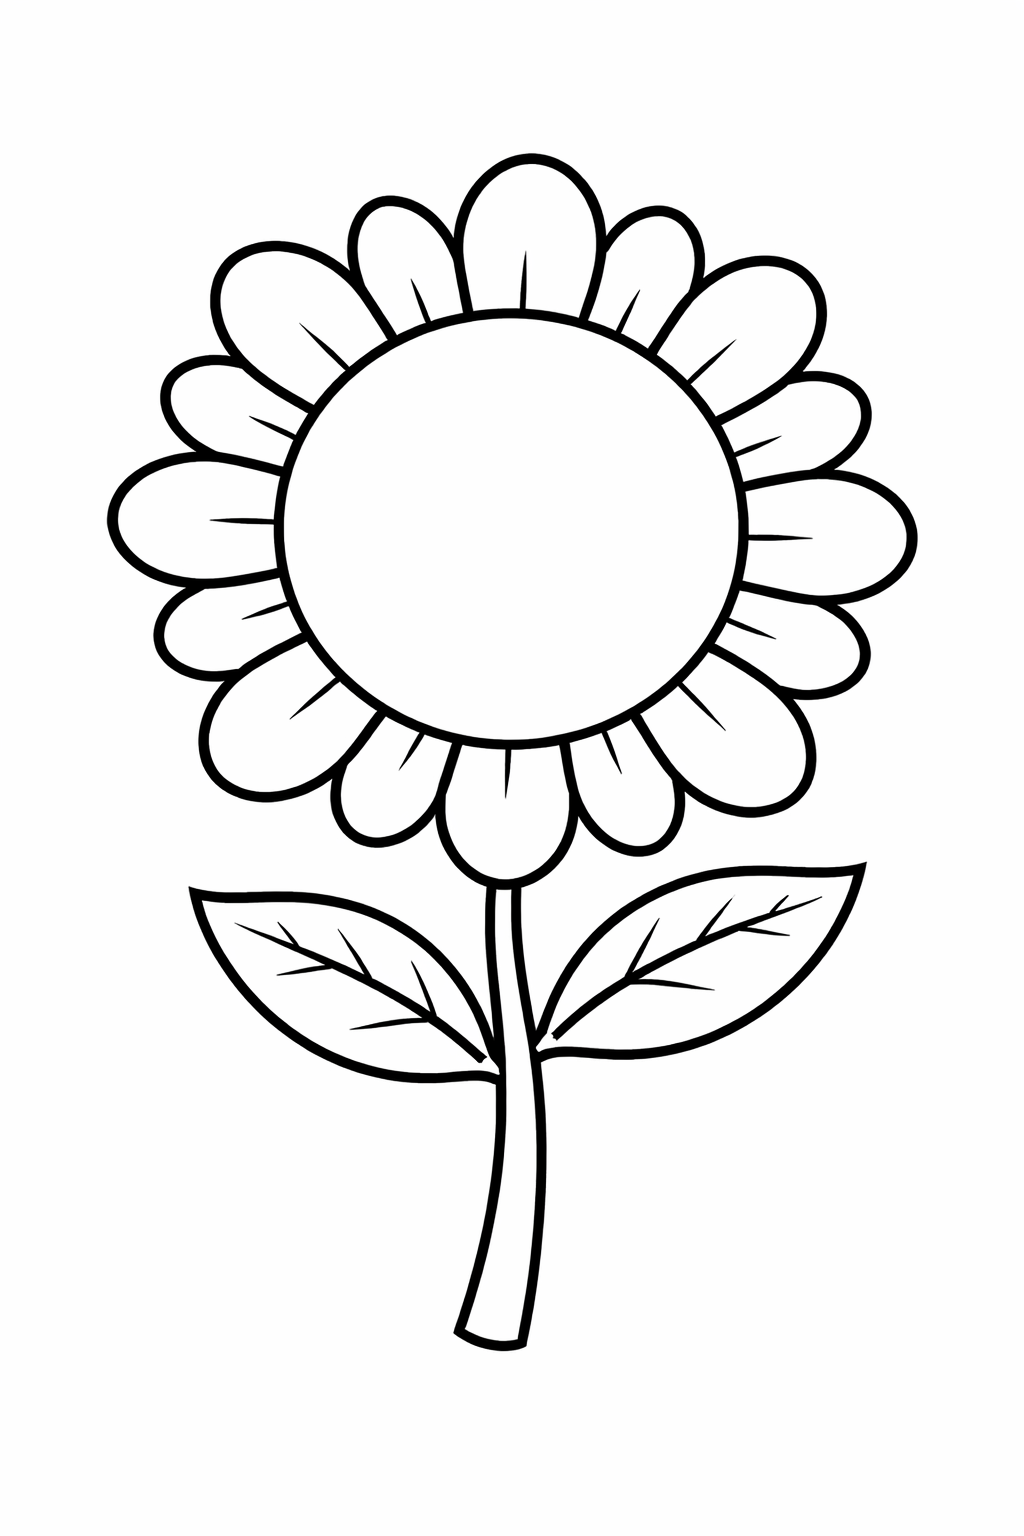
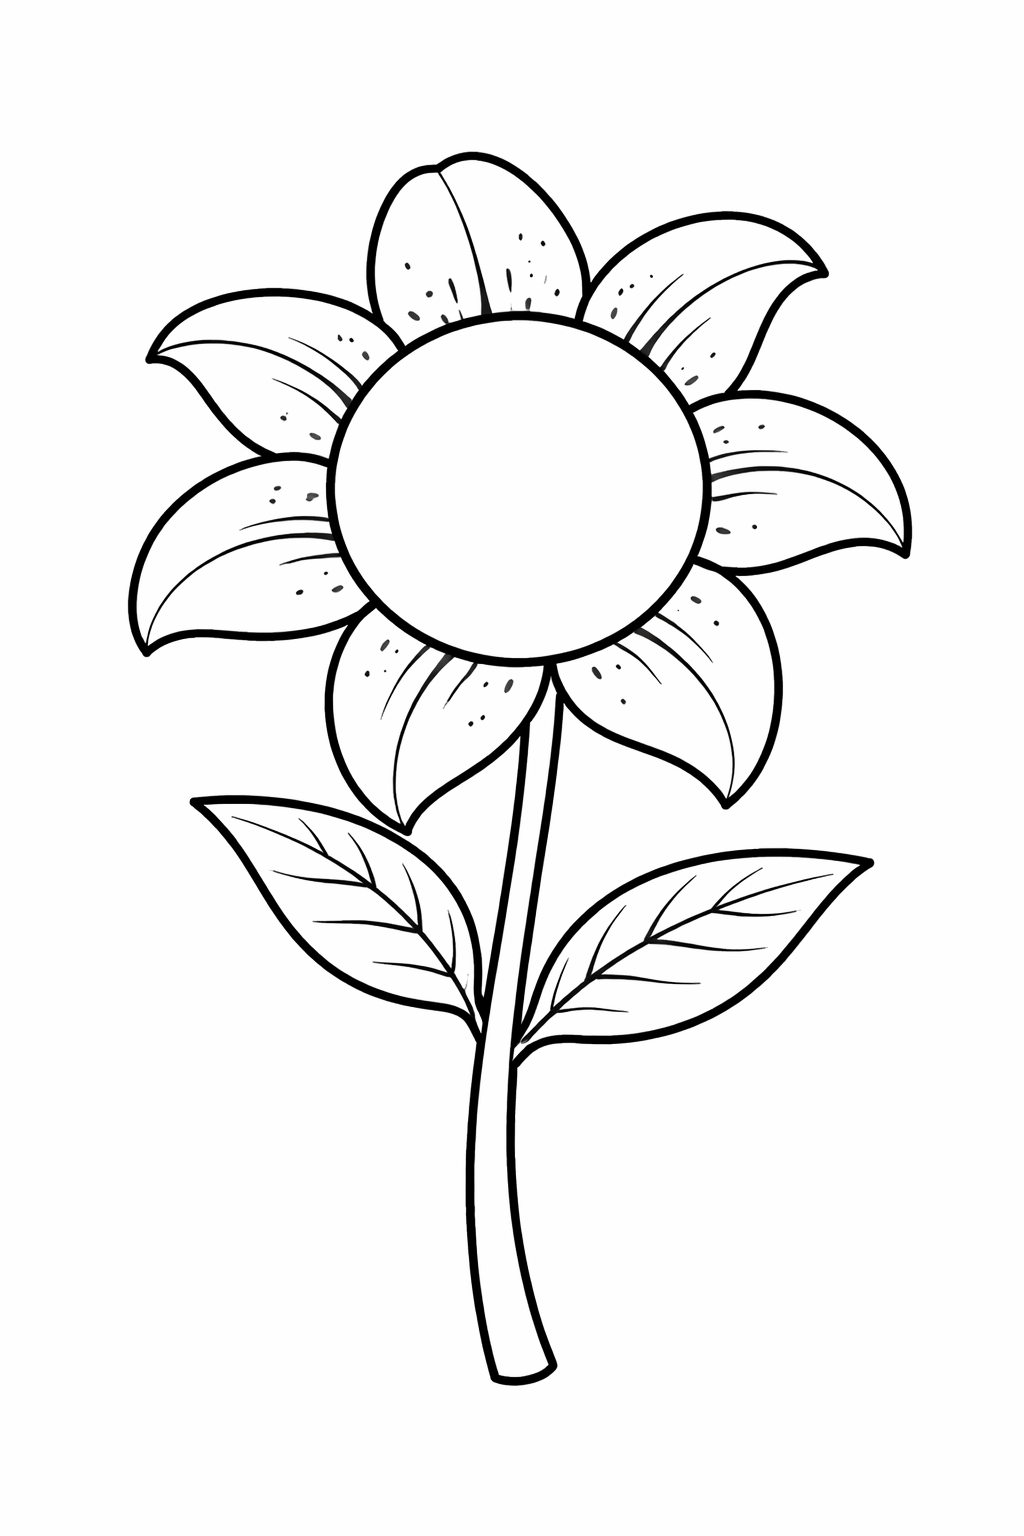
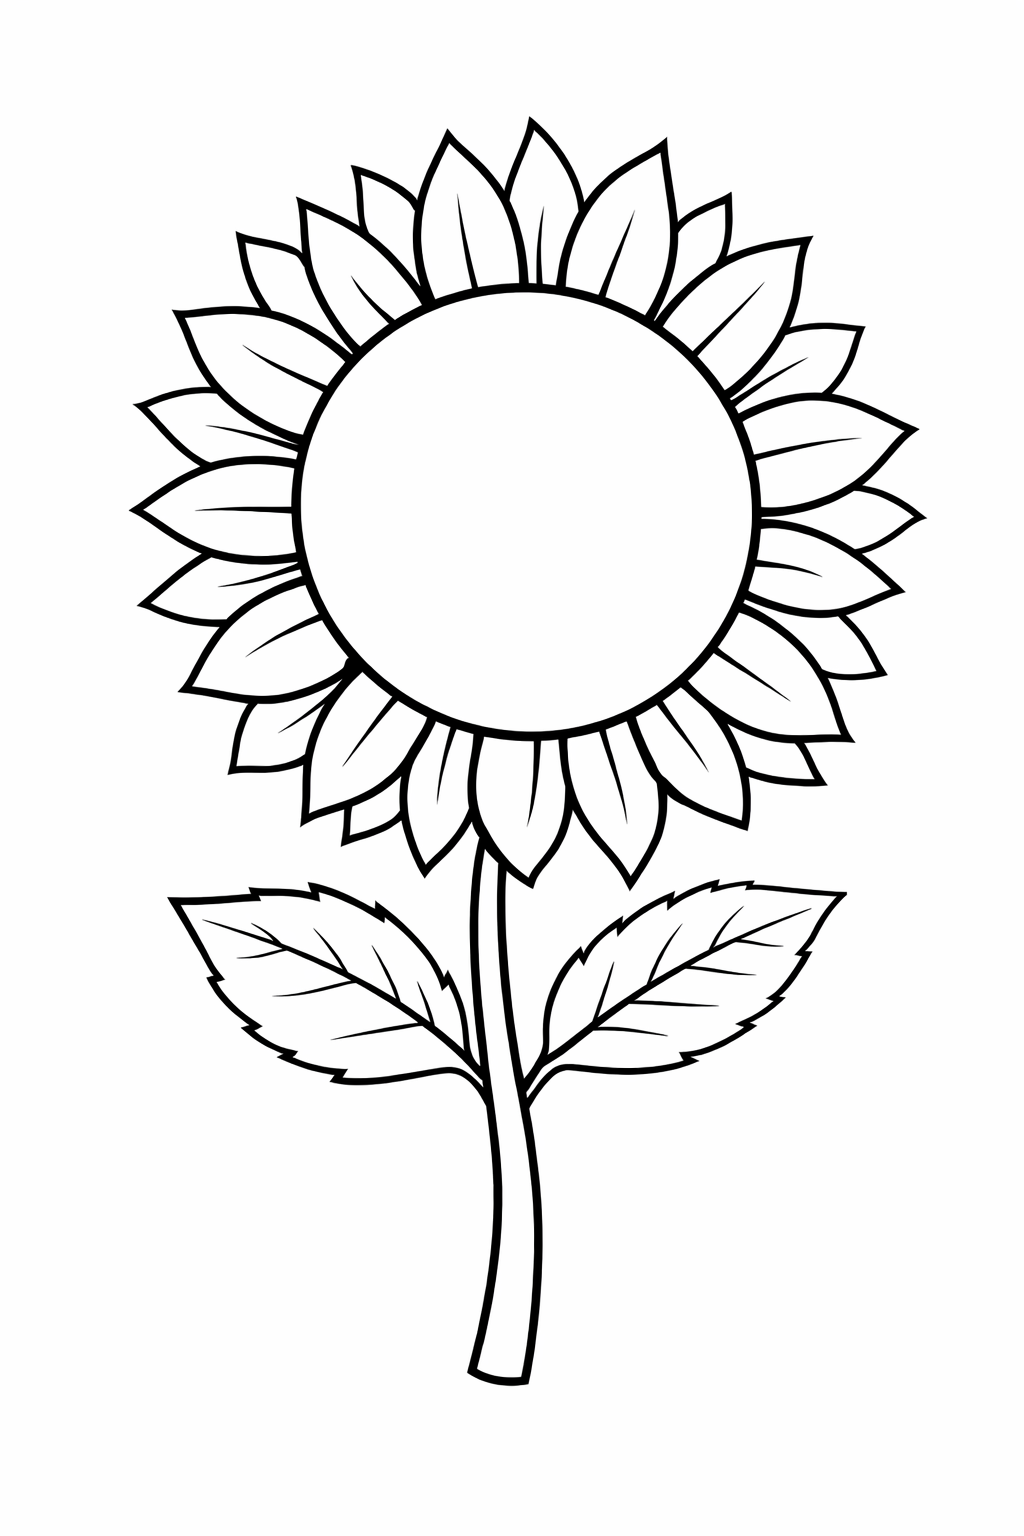
- Print out your favorite flower face template. Each printable flower has a large center circle where kids can draw a face.
- Let children color the flower petals, leaves, and stem any way they like. They can keep it realistic or make it bright and imaginative.
- In the center circle, have each child draw their own face. They can make a self-portrait, a happy face, a funny face, or even a made-up flower character.
- Carefully cut out the finished flower.
- Display the completed flowers on a bulletin board, classroom wall, bedroom door, or window area to create a blooming garden of flower faces.
- For extra creativity, kids can decorate their flowers with stickers, patterns, glitter glue, or small collage pieces.
Fun Ideas
Use one flower template for each student in the class to make a full spring bulletin board.
Write each child’s name on a leaf or petal.
Have kids draw different emotions on the flower faces for a social-emotional learning activity.
Create a “garden of friends” display for spring or back-to-school season.
Patterns, Templates and Printables
Print the Bulletin Board Flower Faces templates and let kids color, cut, and create their own blooming flower characters.
Teacher Friendly Educational Extension
This printable flower craft works well as more than just an art project. It can also support early learning in simple and meaningful ways.
Children can practice self-expression by drawing their own facial features and choosing colors that reflect their personality. Teachers can also use the flower faces as a springboard for lessons about emotions by asking students to create happy, excited, sleepy, or surprised faces.
For writing practice, invite students to complete a sentence to go with their flower such as “My flower is special because…” or “If I were a flower, I would…”
This also makes a wonderful classroom community activity. Put all the flowers together on one bulletin board to create a colorful garden made by the whole class.
Supplies
• Fingerpaint Flower Template
• Fingerpaint / Tempera paint
• Scrap newspapers
• Pencil / Marker
• Students’ portraits printout, 8.5 x 11″ (21.5 x 28 cm)
• Tape
• Scissors
• Flower Faces Fence template PDF
• Crayons
(Optional):
• Collage materials
• Glue
• Construction paper in assorted colors
• Paint brushes
Instructions
Fingerpaint Flowers are perfect full-sized projects for each student in your class! The vast canvas space will inspire students to unleash their creative streak while developing fine motor skills. For students who are less inclined to fingerpaint, provide them with paint brushes! They will still get an exercise in fine motor movement while stimulating their visual senses with bright big colors on the white canvas.
Here’s a good look at some of the materials we’ll be using. You can see the relative size of the Fingerpaint Flower to the 8.5 x 11″ printout of our student’s portrait. It’s huge! The great thing is that it’s perfect for a standard size of portrait.
My suggestion is to take informal class photographs of your students (get parents’ consent first)! Next, upload the photos and print full size to 8.5 x 11″ paper. You don’t have to do full color like we’ve done, but black and white printouts work well too! Use simple editing techniques on your photograph software to lighten or darken your students’ portraits. If it’s more efficient to make smaller photos, experiment with the size of the printout and see what works best!
Let’s get ready to make room in the Fingerpaint Flower for our students’ portraits!
Cut out a test photo of the appropriate size for the portraits. Basically, you will need to trace and cut out a large oval that will fit your students’ portraits. Note: You won’t be able to use this test photo afterwards, so be sure to print out an image that can be discarded.
Trace the outline of the test photo onto the center of the Fingerpaint Flower. Outline in black marker. Now you can pass the Fingerpaint Flower to your students!
Loosely fold the Fingerpaint Flower in half. Cut across the center of the drawn circle to make a slit. This will help your students cut out the center circle with ease.
Cut out the center along the black marker line.
Make sure that the test photo fits snugly. Note: Discard the test photo after this step!
Lay down the newspaper sheets to protect your work surface before painting!
To ensure that the Fingerpaint Flowers don’t curl up when your students paint them, flip the flowers over to the back. Make quick brushstrokes with some spare paint all around the petals, the stem and leaves. Since you are using a light coat, the paint will dry fairly fast so your students can get started on painting!
Use fingerpaint to color all the flower petals. You can also use paintbrushes to help spread the paint faster. I chose a bright yellow color here. Ask your students to visualize what their final flowers will look like. If they’d like to decorate it with crayon or more fingerpaint designs, choose light colors for the flower background. If students would like to make cutouts and paste the cutouts on, use darker colors.
While you are waiting for the petals to dry, paint the stem and leaves green.
Flowers should take only about 10 minutes to dry and even faster in sunlight! Once the flowers are dry, choose one of three ways to decorate the Fingerpaint Flower, or come up with your own ideas!
Other Images
Click on an image to open it in a new window

Contributor
Visit our blog at LittleFingersBigArt.com for crafty ideas! Inspired by Roylco products, this blog is focused on providing aspiring crafters, students and educators with unique arts and crafts projects.