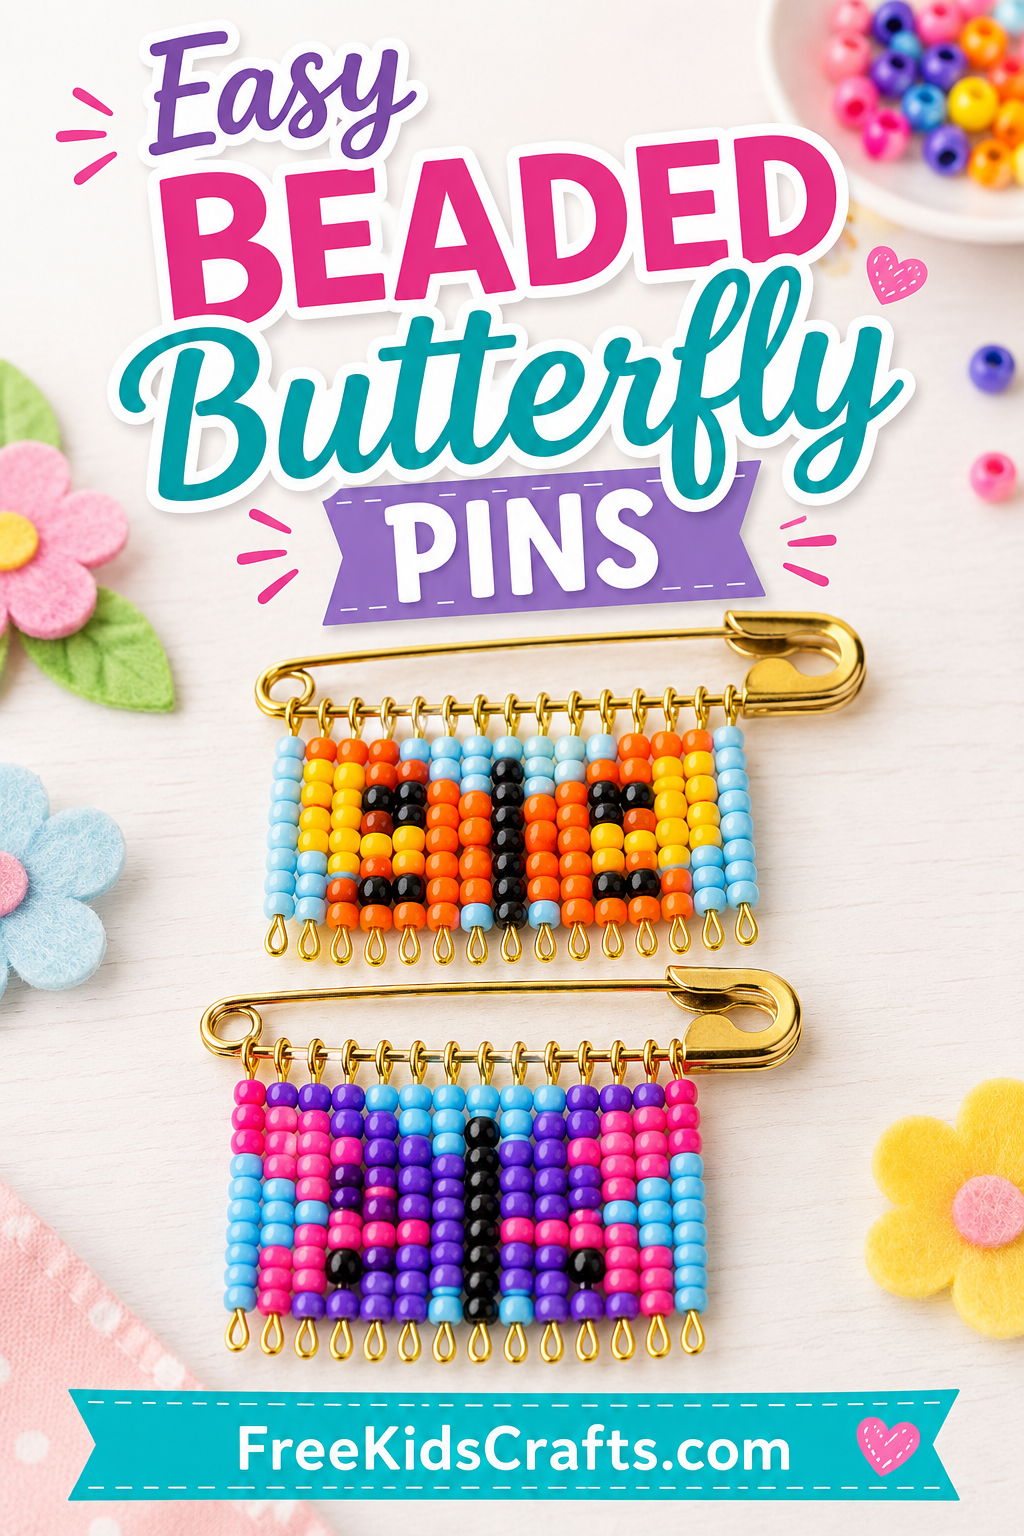
Easy Beaded Butterfly Pins
No more fighting with coiled pins. These Easy Beaded Butterfly Pins use larger “E” beads and coiless safety pins to make the project easier for kids, tweens, and beginning beaders. Kids can choose their favorite colors to create a butterfly pin for backpacks, jackets, gifts, or spring craft displays.
Fun Facts
Butterflies live on every continent except Antarctica. Scientists estimate there are about 12,000 to 15,000 butterfly species, with many more still waiting to be discovered.
Supplies
- Coiless safety pins, 2¼ inch
- Size 2 safety pins
- “E” beads
- 4mm round beads
- Long-nose pliers
Instructions
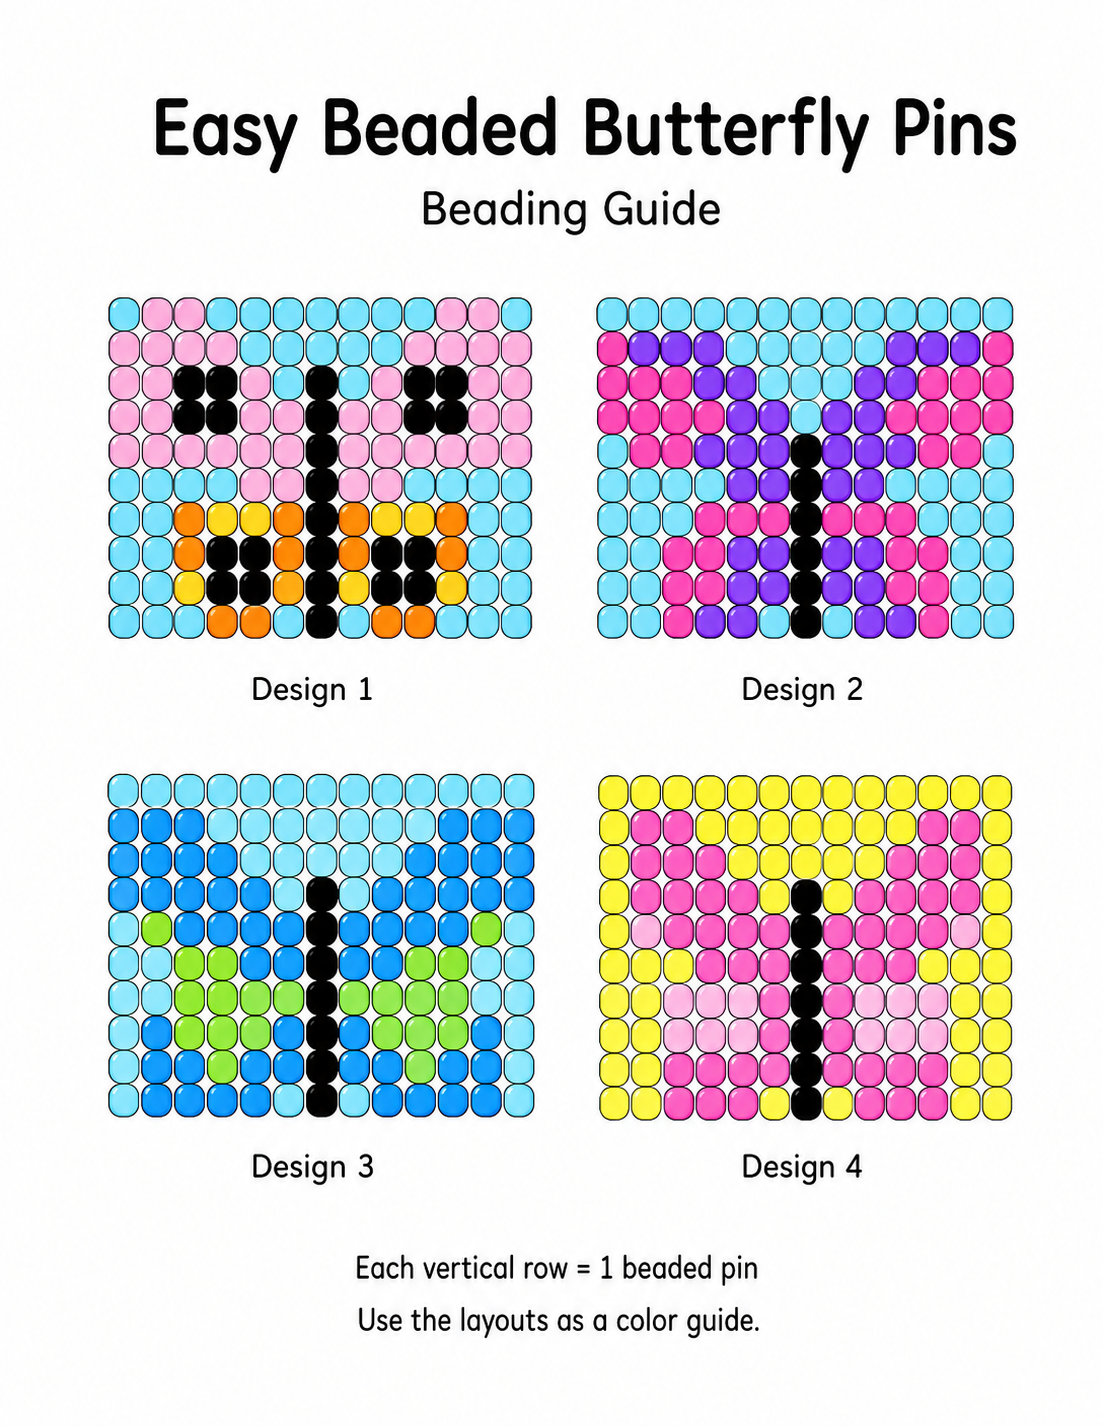
- Choose the butterfly bead pattern you want to make.
- Each row hanging down from the butterfly is made with a size 2 safety pin. Open each size 2 pin and string the “E” beads onto it, following your chosen pattern.
- Remember that you are stringing the beads upside down. Start with the bead that will be at the top of each row and work down. When the pin is turned upside down, the design will face the right way.
- Close each beaded safety pin. Use long-nose pliers to squeeze the pin head closed permanently so the beads do not fall off.
- Open the coiless safety pin. Carefully bend it open to about a 60 degree angle so you can slide the beaded pins and round beads onto it.
- Beginning with the beaded pin that belongs on the far right side of the butterfly, slide the coil of that pin onto the coiless safety pin. Move it around the bend and toward the head of the pin.
- Slide on one 4mm round bead. Add the next beaded safety pin, followed by another 4mm bead.
- Continue adding beaded pins and 4mm beads until all the butterfly rows are in place. Finish with a final 4mm bead to help hold the pins in position.
- Carefully close the coiless safety pin. Your beaded butterfly pin is ready to wear, give as a gift, or display.
Helpful Tips
Glass beads can vary slightly in size. Some larger “E” beads may not fit well on the small safety pins, so set those aside for another craft.
The pins may look like they will not close at first. As long as the tip of the pin still shows, you can usually press the point into the pin head opening. The pin may bend outward slightly, which helps the beads fit snugly.
Younger children may need help opening, closing, and bending the pins. Adult supervision is recommended.
Patterns, Templates and Printables
Use the printable butterfly bead pattern to guide bead placement for each safety pin row. Kids can follow the colors shown or create their own butterfly design using their favorite “E” beads.
Teacher Friendly Educational Extension
Use this butterfly pin craft as part of a spring, insect, or life cycle lesson. Have students talk about symmetry by comparing the left and right sides of their butterfly patterns.
For a simple science connection, ask kids to research one butterfly species and write three facts about where it lives, what it eats, and what colors or patterns appear on its wings.
For a classroom display, place finished pins on a bulletin board titled “Our Beautiful Butterfly Garden” or “Spring Has Wings.”
Supplies
Coiless Safety Pins - 2¼"
4mm Round Beads
"E" Beads
Safety Pins, Size 2
Long-Nose Pliers
Instructions
Each row hanging down is a size 2 pin with "E" beads strung on it. Open these pins and string beads following the pattern chosen. Keep in mind that you are stringing the beads upside-down so you will start at the top with of each row and work down. Then turn the pin upside-down. Use pliers to squeeze the pin head closed permanently.
Note: Glass beads are are irregular in size. You will not be able to use the larger "E" beads in your package. It may look like the pins will not close but as long as the tip shows, you can usually just press the point into the pin head opening. The pin will bend out slightly to fit the beads snuggly into place.
Open up the coiless pin. You will need to bend it open to at least a 60 degree angle to get the beads on. Beginning with the beaded pin to the far right, thread the coil of that beaded pin onto the coiless pin, around the bend and over to the head of the pin. Slide on a 4mm bead. Then the next beaded pin, followed by another 4mm bead. Continue until you have threaded on all pins and finished off with a final 4mm bead. These beads help hold the pins in place and keep them from sliding around the coiless pin.
Contributor
Terri is the creator of makingfriends.com, freekidscrafts.com, scoutswaps.com and badginabag.com. Her work is republished all over the internet and is considered the queen of kids crafts.
Are the E Beads and the 4mm beads the same? I cannot tell from the picture.
More instructions , please!
e beads are not completely regular in shape and smaller than 4mm beads. Hereis a link that will help you understand bead terminology. Enjoy. http://www.matoska.com/bead_terms.htm