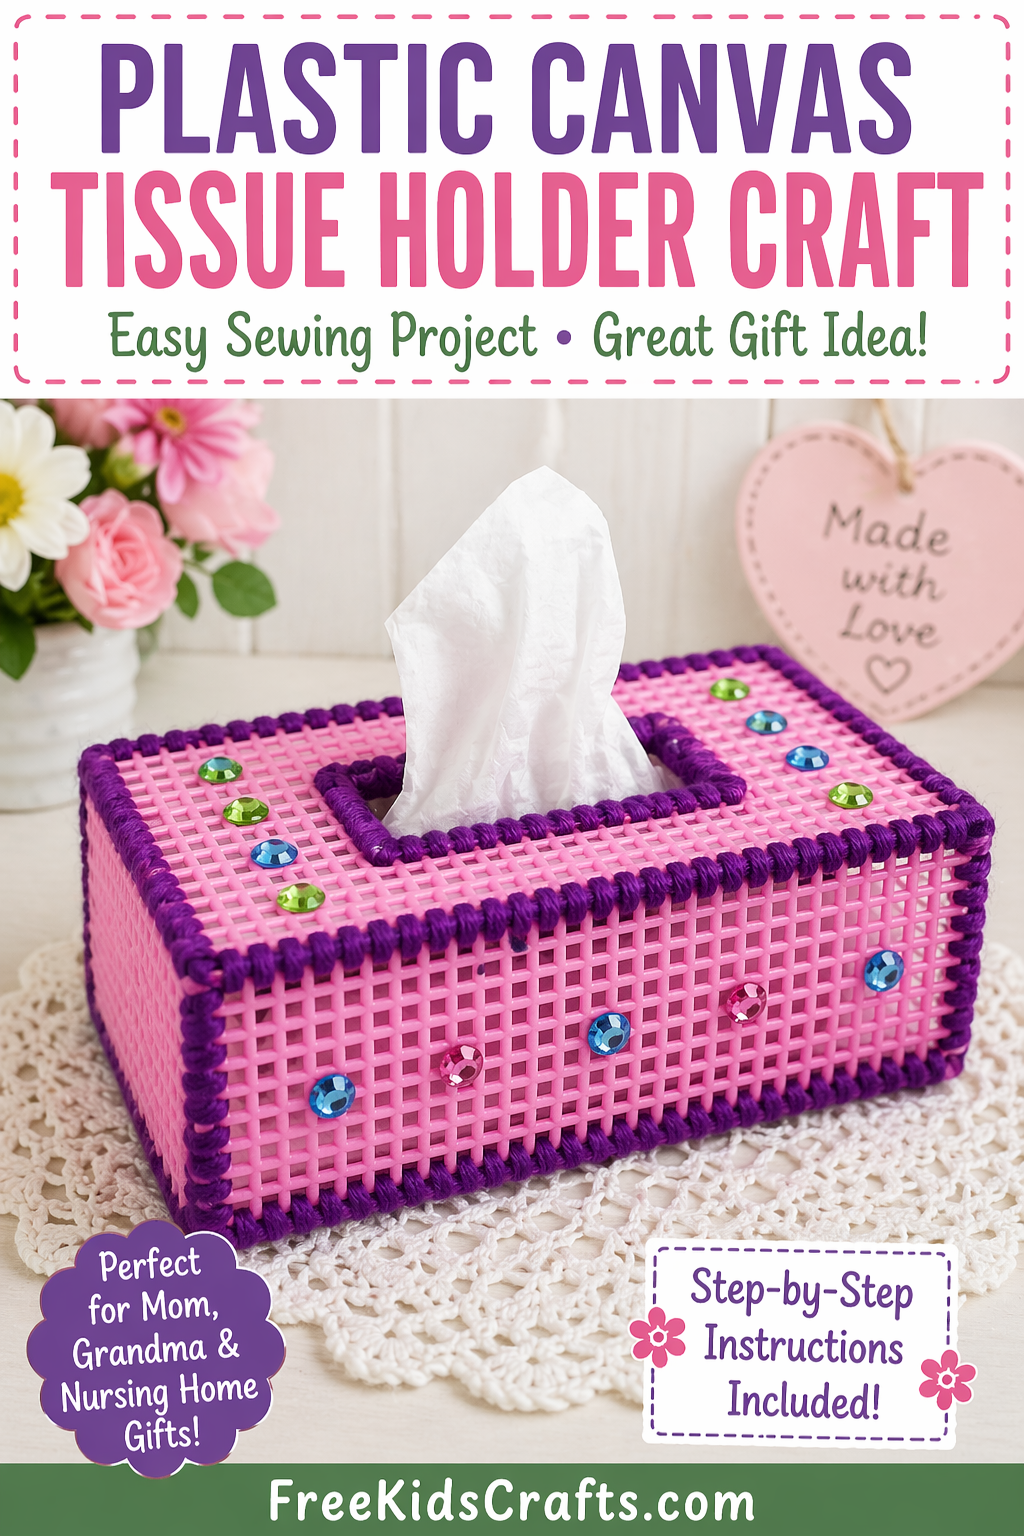
Plastic Canvas Tissue Holder Craft
Make a Plastic Canvas Tissue Holder for Mom or Grandma for Mother’s Day, Christmas, or any special occasion. This beginner-friendly sewing project is a nice way to practice measuring, stitching, and assembling simple shapes. It can also be a thoughtful handmade gift for nursing home residents or patients, though it is always best to check with the facility first before donating. Thanks to team member Laura for supplying the photos and instructions.
Supplies
- Plastic canvas
- 4 shoelace yarn
- Hot glue gun, optional
- Embellishments, optional
- Scissors or plastic canvas cutters
- Marker
- Scrap paper for sizing guide
- Tissues
Instructions
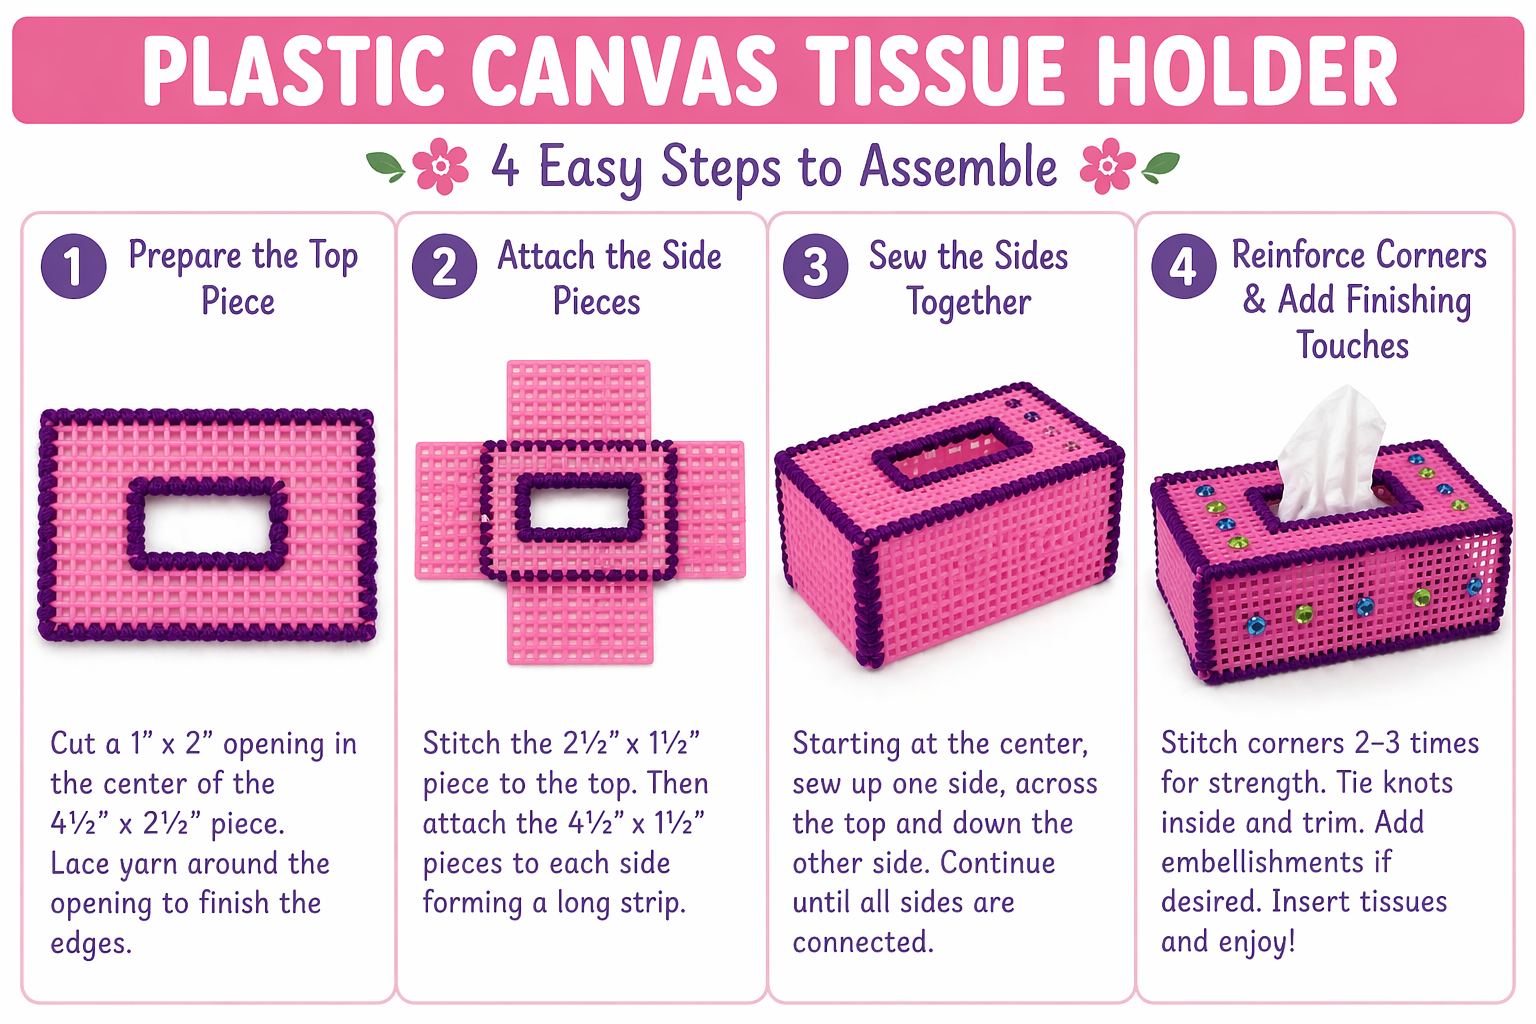
1. Cut the opening piece
Cut a rectangle in the middle of one 4 1/2 by 2 1/2-inch plastic canvas piece. The opening should be about 1 inch wide and 2 inches long.
Tip: Cut a scrap paper rectangle to the size you want first. Lay it on the plastic canvas and trace around it with a marker to help guide your cuts.
2. Finish the tissue opening
Trim the inside edges of the opening as neatly as possible. Lace shoelace yarn around the inside edge of the opening to make it smoother and easier to pull tissues through.
To secure the yarn, tuck the end under the first few stitches. At the end, leave the last few stitches a little loose, tuck the yarn end under, then tighten the stitches, tie a knot, and trim the end.
3. Attach the side pieces
Stitch the 2 1/2 by 1 1/2-inch piece of canvas to the opening piece. Then attach one 4 1/2 by 1 1/2-inch side piece to that section. Continue attaching the remaining pieces until all sides are joined in a long strip.
Tip: When the plastic canvas folds easily, you can often stitch through two holes at the same time to make assembly easier.
4. Form the box shape
Starting at the center, sew up one side, across the top, and down the other side. Keep going until all sides are connected into the tissue holder shape.
Tie knots inside the connecting pieces and trim the ends after knotting.
5. Reinforce the corners
For a more finished look, stitch through the corner holes two or three times to strengthen the joins and make the holder look neater.
6. Finish the final stitches
The last knot can be tricky once all four sides are attached. If your fingers do not fit easily inside the box, bring the lace up through the front opening. Make one final stitch through the canvas directly over the existing stitches, tie the knot, and trim the end.
Use any leftover yarn to finish the remaining sides with the tucking method.
7. Decorate if desired
Leave your tissue holder plain or add embellishments with a hot glue gun. Flowers, bows, small shapes, or seasonal decorations can make it extra special.
Fun Facts
Pop-up tissue cartons with a perforated opening were introduced in 1928. Colored Kleenex tissues followed in 1929, and printed tissues appeared the year after that. That makes this tissue holder craft a fun way to turn an everyday household item into a handmade gift.
Patterns, Templates and Printables


Teacher Friendly Educational Extension
This project is a nice classroom or group activity for practicing beginning sewing skills. Children can measure the plastic canvas pieces, count holes for even stitching, and work on fine motor control while lacing the yarn. You can also use this craft as part of a service project by making tissue holders for grandparents, teachers, or community helpers.
Supplies
Instructions
Other Images
Click on an image to open it in a new window


Contributor

These projects are created by Terri, Betty, Jamie or one of the talented staff members at MakingFriends.com. They have been created exclusively for publication on FreeKidsCrafts.com with supplies you'll be able to find around your house.