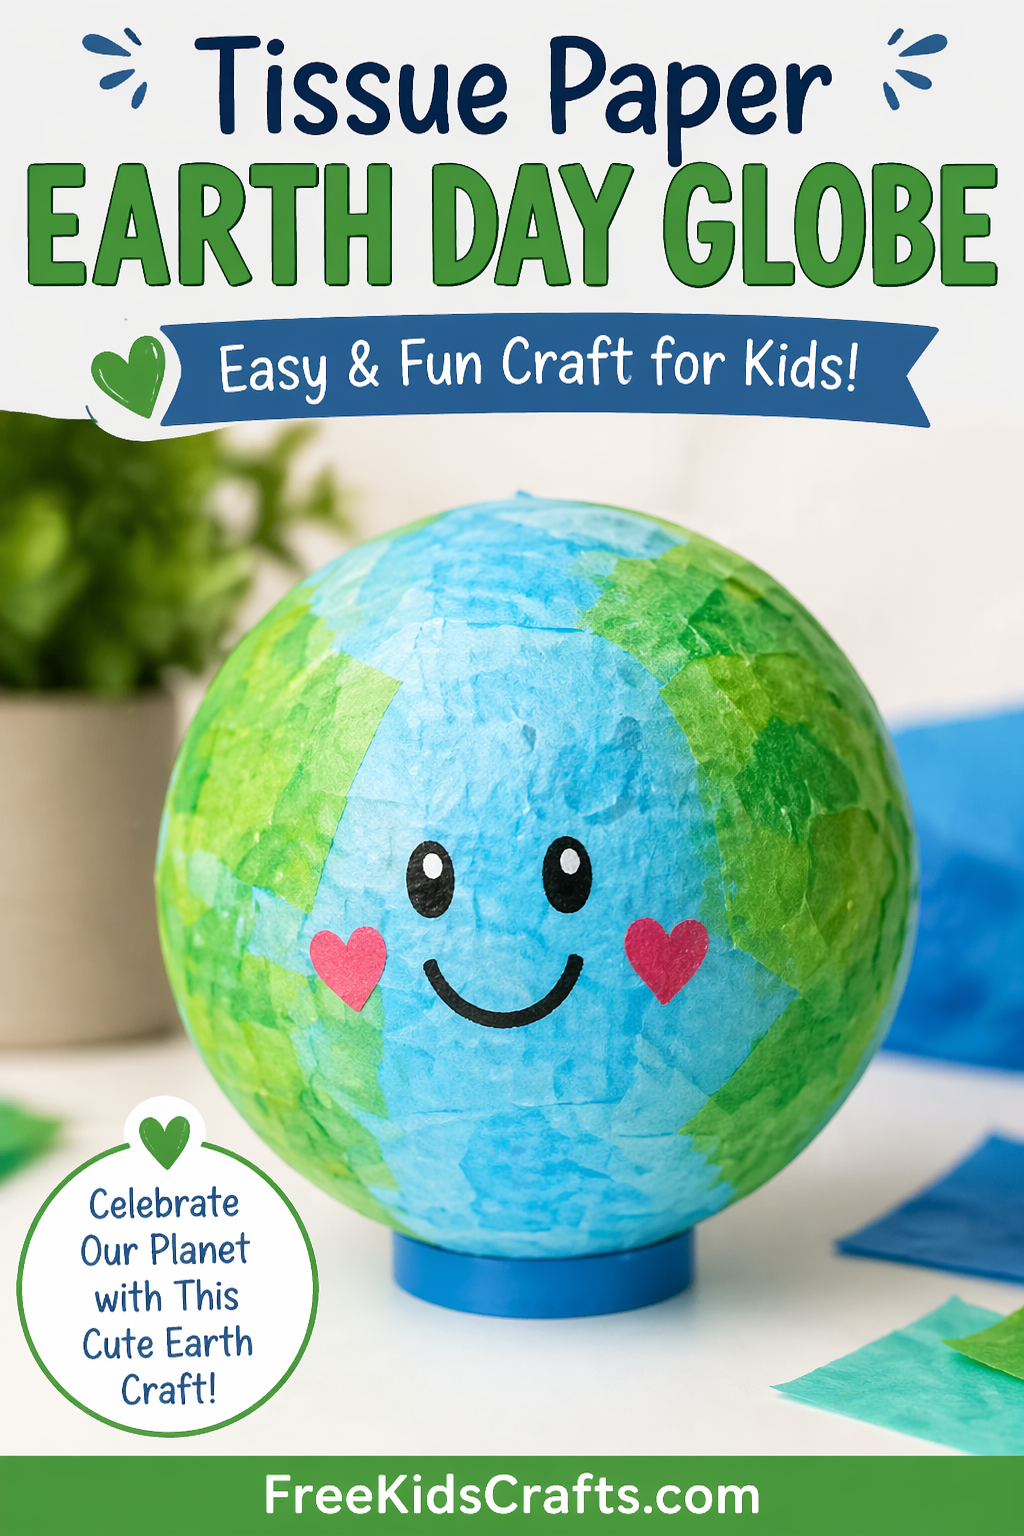
Tissue Paper Earth Day Globe
Show your love for our planet with this cheerful Tissue Paper Earth Day Globe craft. Kids will have fun covering a foam ball with blue and green tissue paper, then adding little hearts and a sweet face to give their Earth its own personality. This is a fun Earth Day activity for home, school, or classroom activities, and it also works well as an easy craft for kids learning about caring for the environment.
Supplies
- Styrofoam craft ball, any size
- Green tissue paper
- Blue tissue paper
- Pink or red tissue paper
- White school glue
- Paint brush
- Scissors
- Black marker
Instructions
- Cut the green and blue tissue paper into 1-inch squares. You will need quite a few pieces to cover the entire ball.
- Cut the pink or red tissue paper into small heart shapes. You only need a few for each globe.
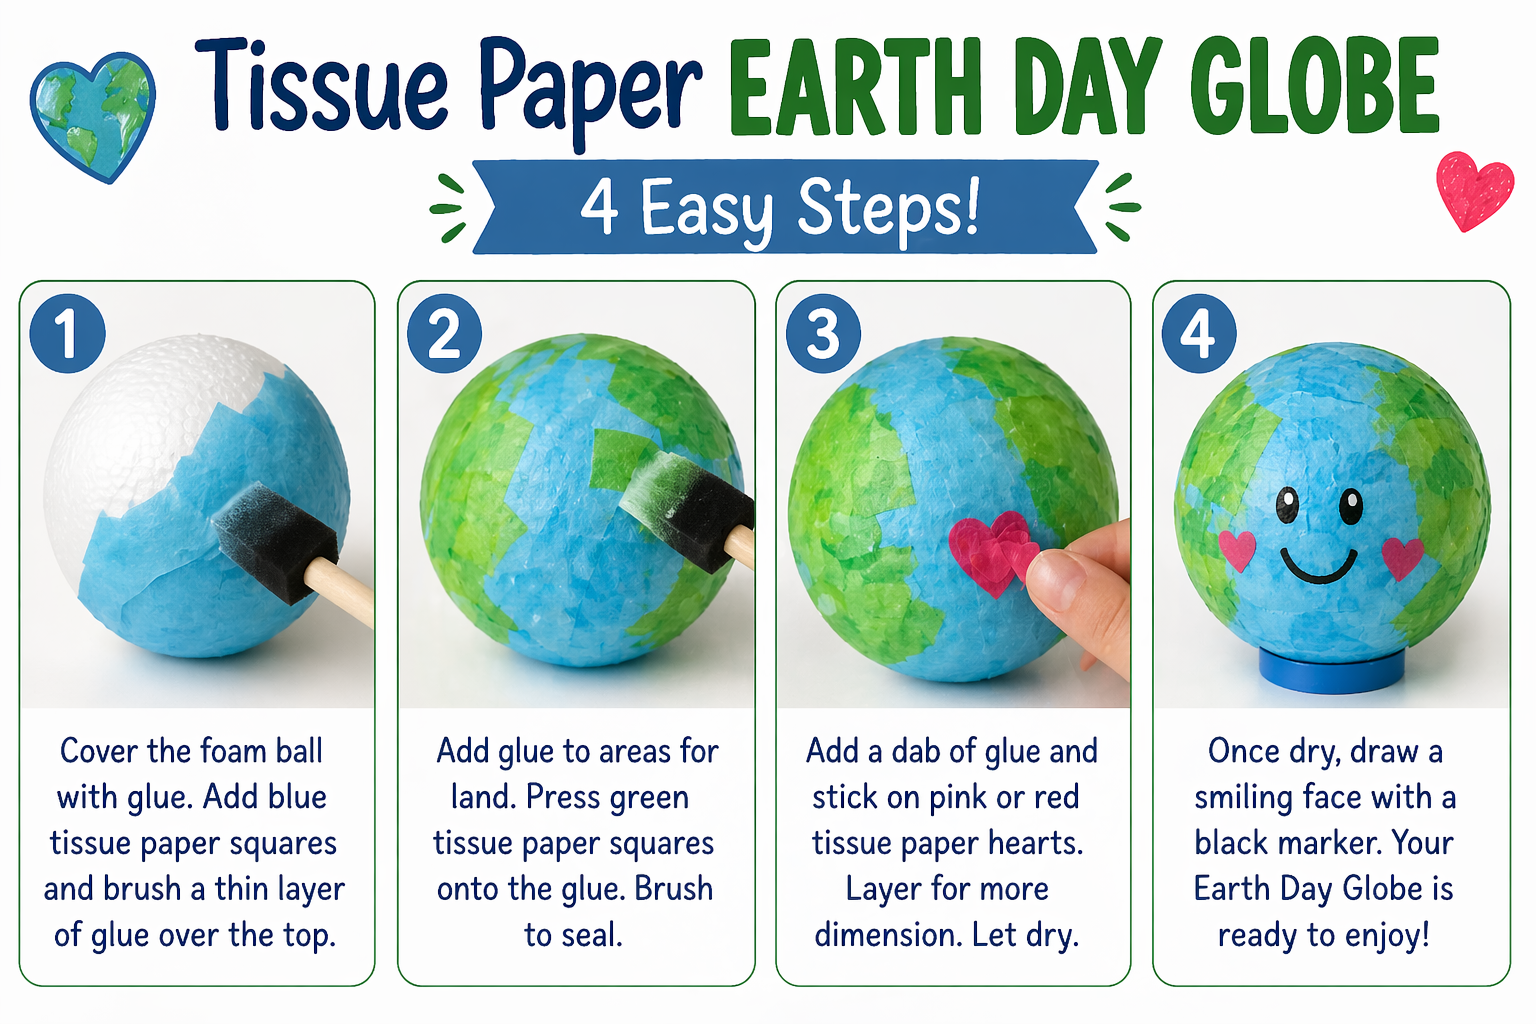
- Pour some white glue into a bowl. Use a paint brush to spread glue over part of the foam ball. Press blue tissue paper squares onto the glue until the ball is covered in blue. Brush a thin layer of glue over the tissue paper to help seal it in place.
- Add glue over areas where you want the land to go. Press green tissue paper squares onto those spots to create the continents. Brush a thin layer of glue over the green tissue paper to seal it.
- Place a small dab of glue where you want each heart. Add the pink or red hearts to the globe. For a raised look, layer a few hearts on top of each other. Brush a thin coat of glue over the hearts.
- Set the globe on top of a cup or plastic bottle cap and let it dry completely. Drying may take overnight.
- Once dry, carefully lift the globe off the stand. Use a black marker to draw a cute face on your Earth.
Fun Facts
Earth Day is celebrated every year on April 22.
Earth is the only planet we know of that has liquid water on its surface.
Recycling, planting trees, and picking up litter are all simple ways kids can help care for the Earth.
Globes and maps help us learn where continents and oceans are located.
Patterns, Templates and Printables
There are no printable templates needed for this project. Kids can cut their own tissue paper squares and hearts to create a one-of-a-kind Earth Day globe.
Teacher Friendly Educational Extension
This craft is a fun way to introduce kids to geography and Earth science. While making the globe, talk about the oceans and continents and point out where children live on the planet. You can also turn this into a writing activity by asking kids to share one promise they can make to help the Earth, such as recycling paper, saving water, or picking up trash. This makes it a great choice for classroom activities and Earth Day lessons.
Supplies
Styrofoam craft ball – any size will work – mine were 4 inch
Green tissue paper
Blue tissue paper
Pink or red tissue paper
White kids glue
Paint brush
Scissors
Black sharpie
Instructions
1. Cut your green and blue tissue paper into 1-inch squares. You will need several of these to cover 1 ball, so cut quite a bit.
2. Cut your red or pink tissue paper into small hearts. You’ll only need a few of these – I used 3 per ball.
3. Pour some white blue in a bowl and grab your paint brush. Start painting glue all over your foam ball. As you add glue to the ball, press blue tissue paper squares on the glue. Continue this until the entire ball is covered in blue tissue paper squares. Brush the entire thing with a thin layer of glue to seal the tissue paper squares onto the ball.
4. Now we’re going to add some green squares for land. Put some glue over the blue tissue paper in areas where you want to add land. Put your green tissue paper squares over the glue. When finished, brush all the green squares with a thin layer of glue to seal them.
5. Grab a pink or red heart and place a dab of glue on your earth where you want the heart. Stick on the heart. I repeated this 3 times (placed the hearts on top of eachother) to make it stand out more. When finished, brush a thin layer of glue over the heart.
6. Place your earth on top of a cup or a plastic bottle cap and allow to fully dry. Mine took at least overnight. Once dry, carefully remove your earth from the stand (cup or bottle cap).
7. Grab your black sharpie and draw a sweet little face on your earth.
Contributor
I love crafting with my kiddos, creating super fun lunches for them in the kitchen and taking pictures of them. My blog is a place for me to share all these things. I hope you enjoy!