Beaded Bunny Napkin Ring Craft
Make cute little beaded bunny napkin rings to dress up your Easter table. This sweet bead craft is a fun project for older kids and teens, and the finished napkin rings can be saved with your Easter decorations to use year after year.
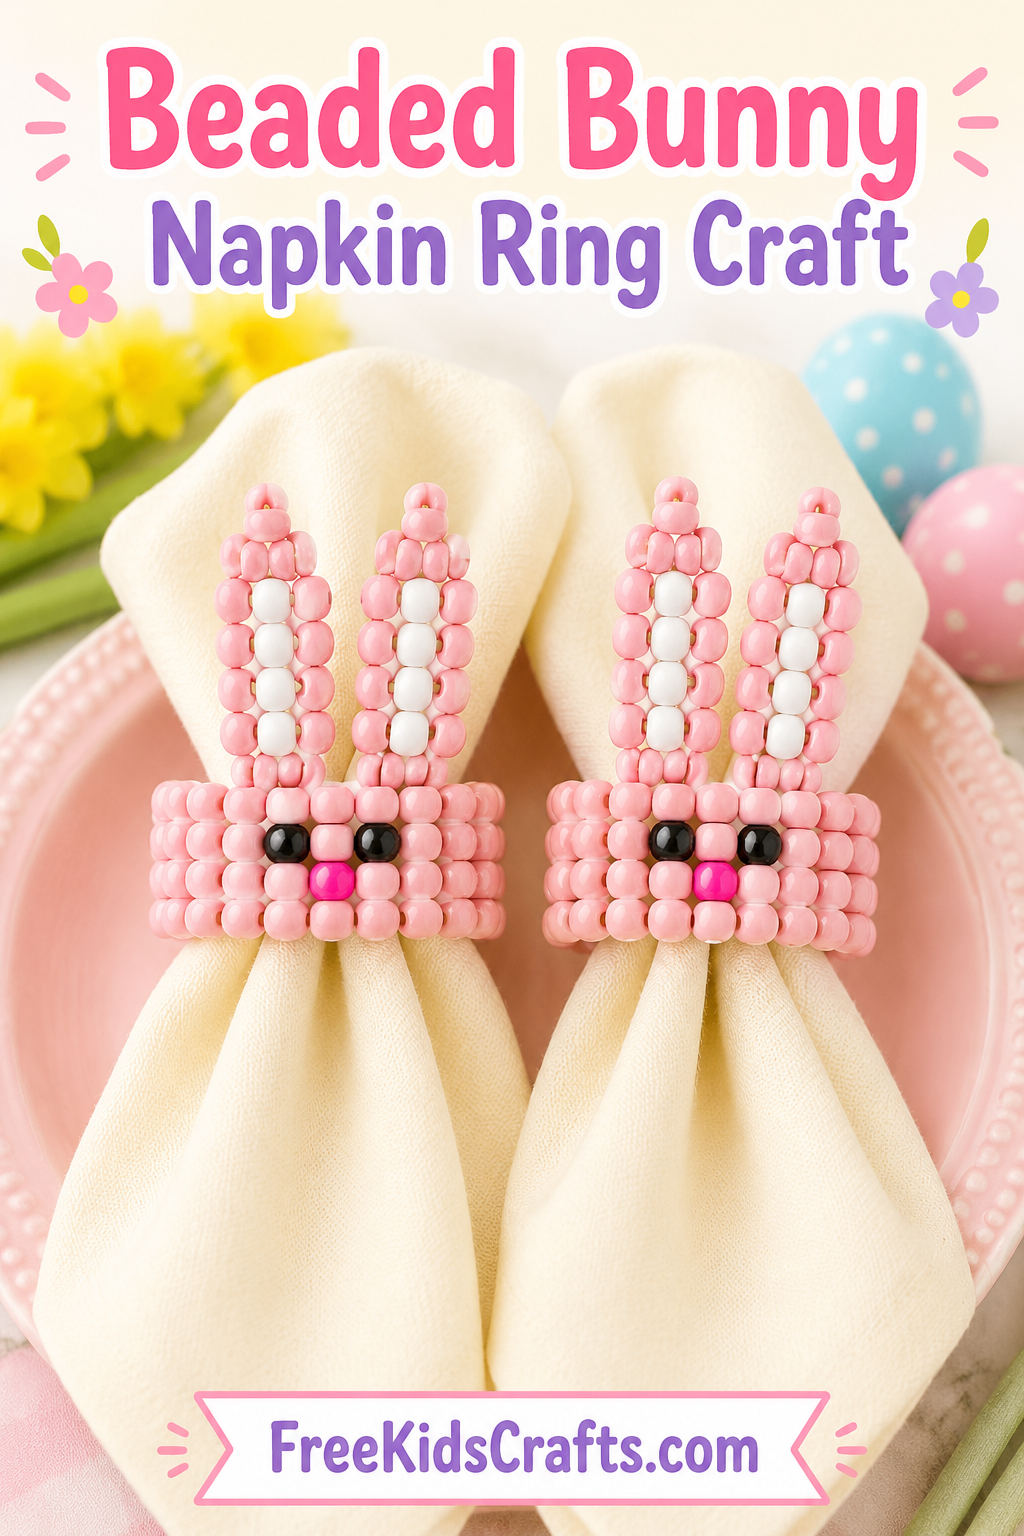
These bunnies are made with pony beads and craft wire, using a simple woven bead pattern for the bunny head and separate beaded ears that are attached at the end.
Supplies
- 5 feet of craft wire
- 63 pink pony beads
- 6 white pony beads
- 2 black pony beads
- 1 hot pink pony bead
Instructions
- Refer to the beading diagram below as you work.
- For this project, the beaded bunny head is made first. The ears are made separately and attached afterward.
- Cut a 30 inch piece of craft wire. Slide 4 pink beads onto the wire and move them to the center.
- Add 4 more pink beads onto the right-hand strand. Thread the left-hand strand back through those same beads in the opposite direction and pull snug.
- Continue weaving rows in this same way until you have completed all 11 rows of the bunny head. Follow the pattern carefully so the black eye beads and hot pink nose bead are in the correct places.
- On the last row, shape the beaded strip into a loop to form the napkin ring. Weave the wire ends back through the first row, then through the second row to secure the ring. Trim any extra wire.
To Make the Ears
- Cut an 18 inch piece of craft wire. Slide 1 pink bead onto the wire and move it to the center.
- Add 2 pink beads onto the right-hand strand. Thread the left-hand strand back through those same beads in the opposite direction and pull snug.
- Add 1 pink bead, 1 white bead, and 1 pink bead. Thread the opposite strand back through the beads and pull snug.
- Repeat the 1 pink, 1 white, 1 pink bead row two more times.
- Add 2 pink beads for the final ear row and pull snug.
- Attach the ear by sliding the ear wires down through beads on the bunny head. Weave the wires through a second row to secure, then trim.
- Repeat the ear instructions to make and attach the second ear.
Fun Facts
Napkin rings have been used for a long time as a practical table item. Around the year 1800, families in France used napkin rings to help identify each person’s napkin between washes. Over time, napkin rings were made from many different materials, including silver, wood, glass, bone, and later Bakelite.
Patterns, Templates and Printables
Click on a pattern to open it in a new window to print.

Teacher Friendly Educational Extension
Turn this Easter craft into a simple pattern and counting activity. Have kids count the number of beads in each row before they begin and compare how the colors create the bunny’s face. Older kids can write out the pattern as a number sequence, such as 4 beads, 4 beads, 4 beads, and so on.
This also works well as a holiday classroom activity for teens or older students who enjoy hands-on projects. Finished napkin rings can be used for a spring table display, Easter party, or handmade gift.
Supplies
Instructions
Patterns, Templates and Printables
Click on a pattern to open it in a new window